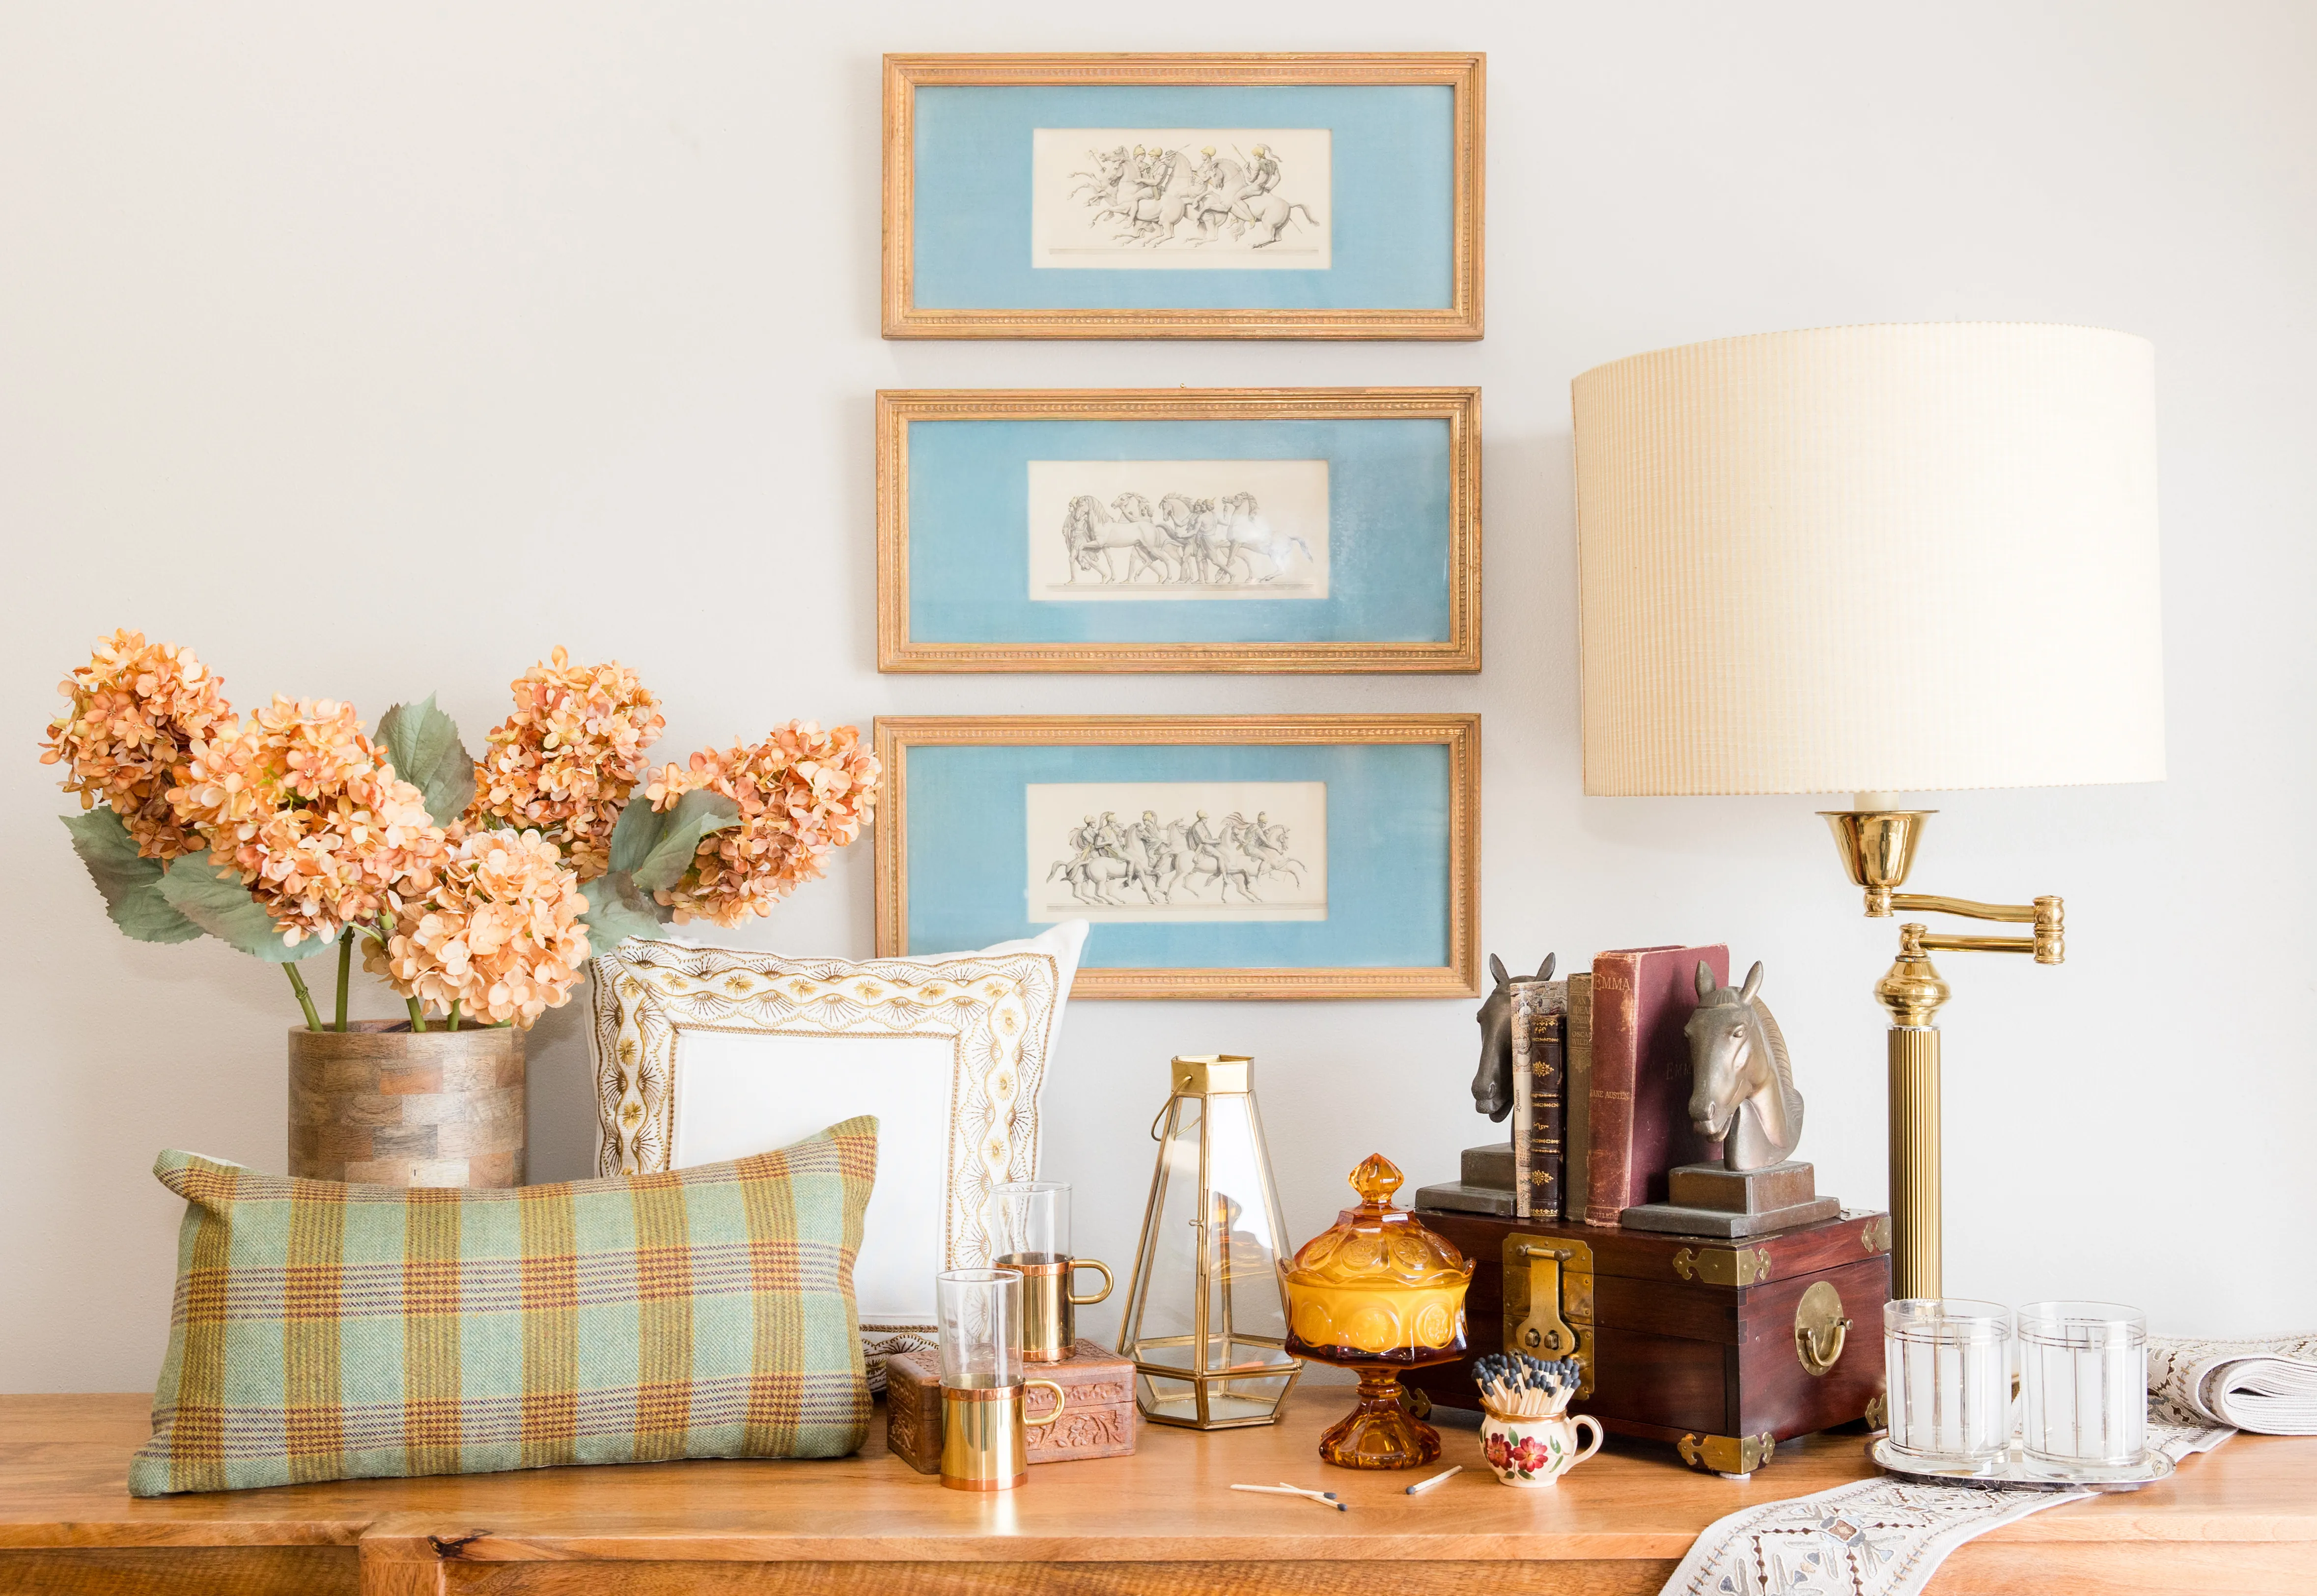
A tired fabric cover does not always mean a favorite lamp has reached the end of its story. If the shade is structurally sound, recovering it can give the lamp a more considered place in the room. The important word is “if.” A good recovery respects the shape, fit, and safety of the original shade instead of simply gluing pretty fabric over a problem.
This guide is for a simple hardback shade: the common, firm style with a smooth inner lining and fabric or paper-like exterior. It is not a shortcut for a failing frame, a damaged electrical fitting, or a heat-scorched shade. Start with an honest assessment, then work slowly enough that the fabric and finish look intentional from every angle.
Start by deciding whether the shade is worth saving
Take the shade off the lamp and set it on a clear table. Run a hand lightly around the top and bottom rims. A recoverable hardback shade should feel dry, firm, and evenly shaped. Its wire rings should not wobble, its seam should lie flat, and the fitter should sit securely. The lining should be clean enough to live with, even if the outside is dated or marked.
Stop if the shade is brittle, warped, damp, deeply stained, scorched, or pulling apart from its rings. Those are not cosmetic flaws. A fresh cover cannot restore a weak body, and it may conceal a problem until the shade is back near a warm bulb. Likewise, skip recovery when the lamp has a damaged socket, frayed wiring, or an uncertain fitter. Solve the lamp’s functional problem before making a decorative one.
A shade that is merely the wrong color, has worn trim, or no longer suits the room is a much better candidate. If the proportions already work, keeping the structure preserves a fitting that has been proven on the lamp. If the fit is questionable, take a moment with Re.’s lampshade measuring guide before investing in fabric.
Gather simple materials and make a small test first
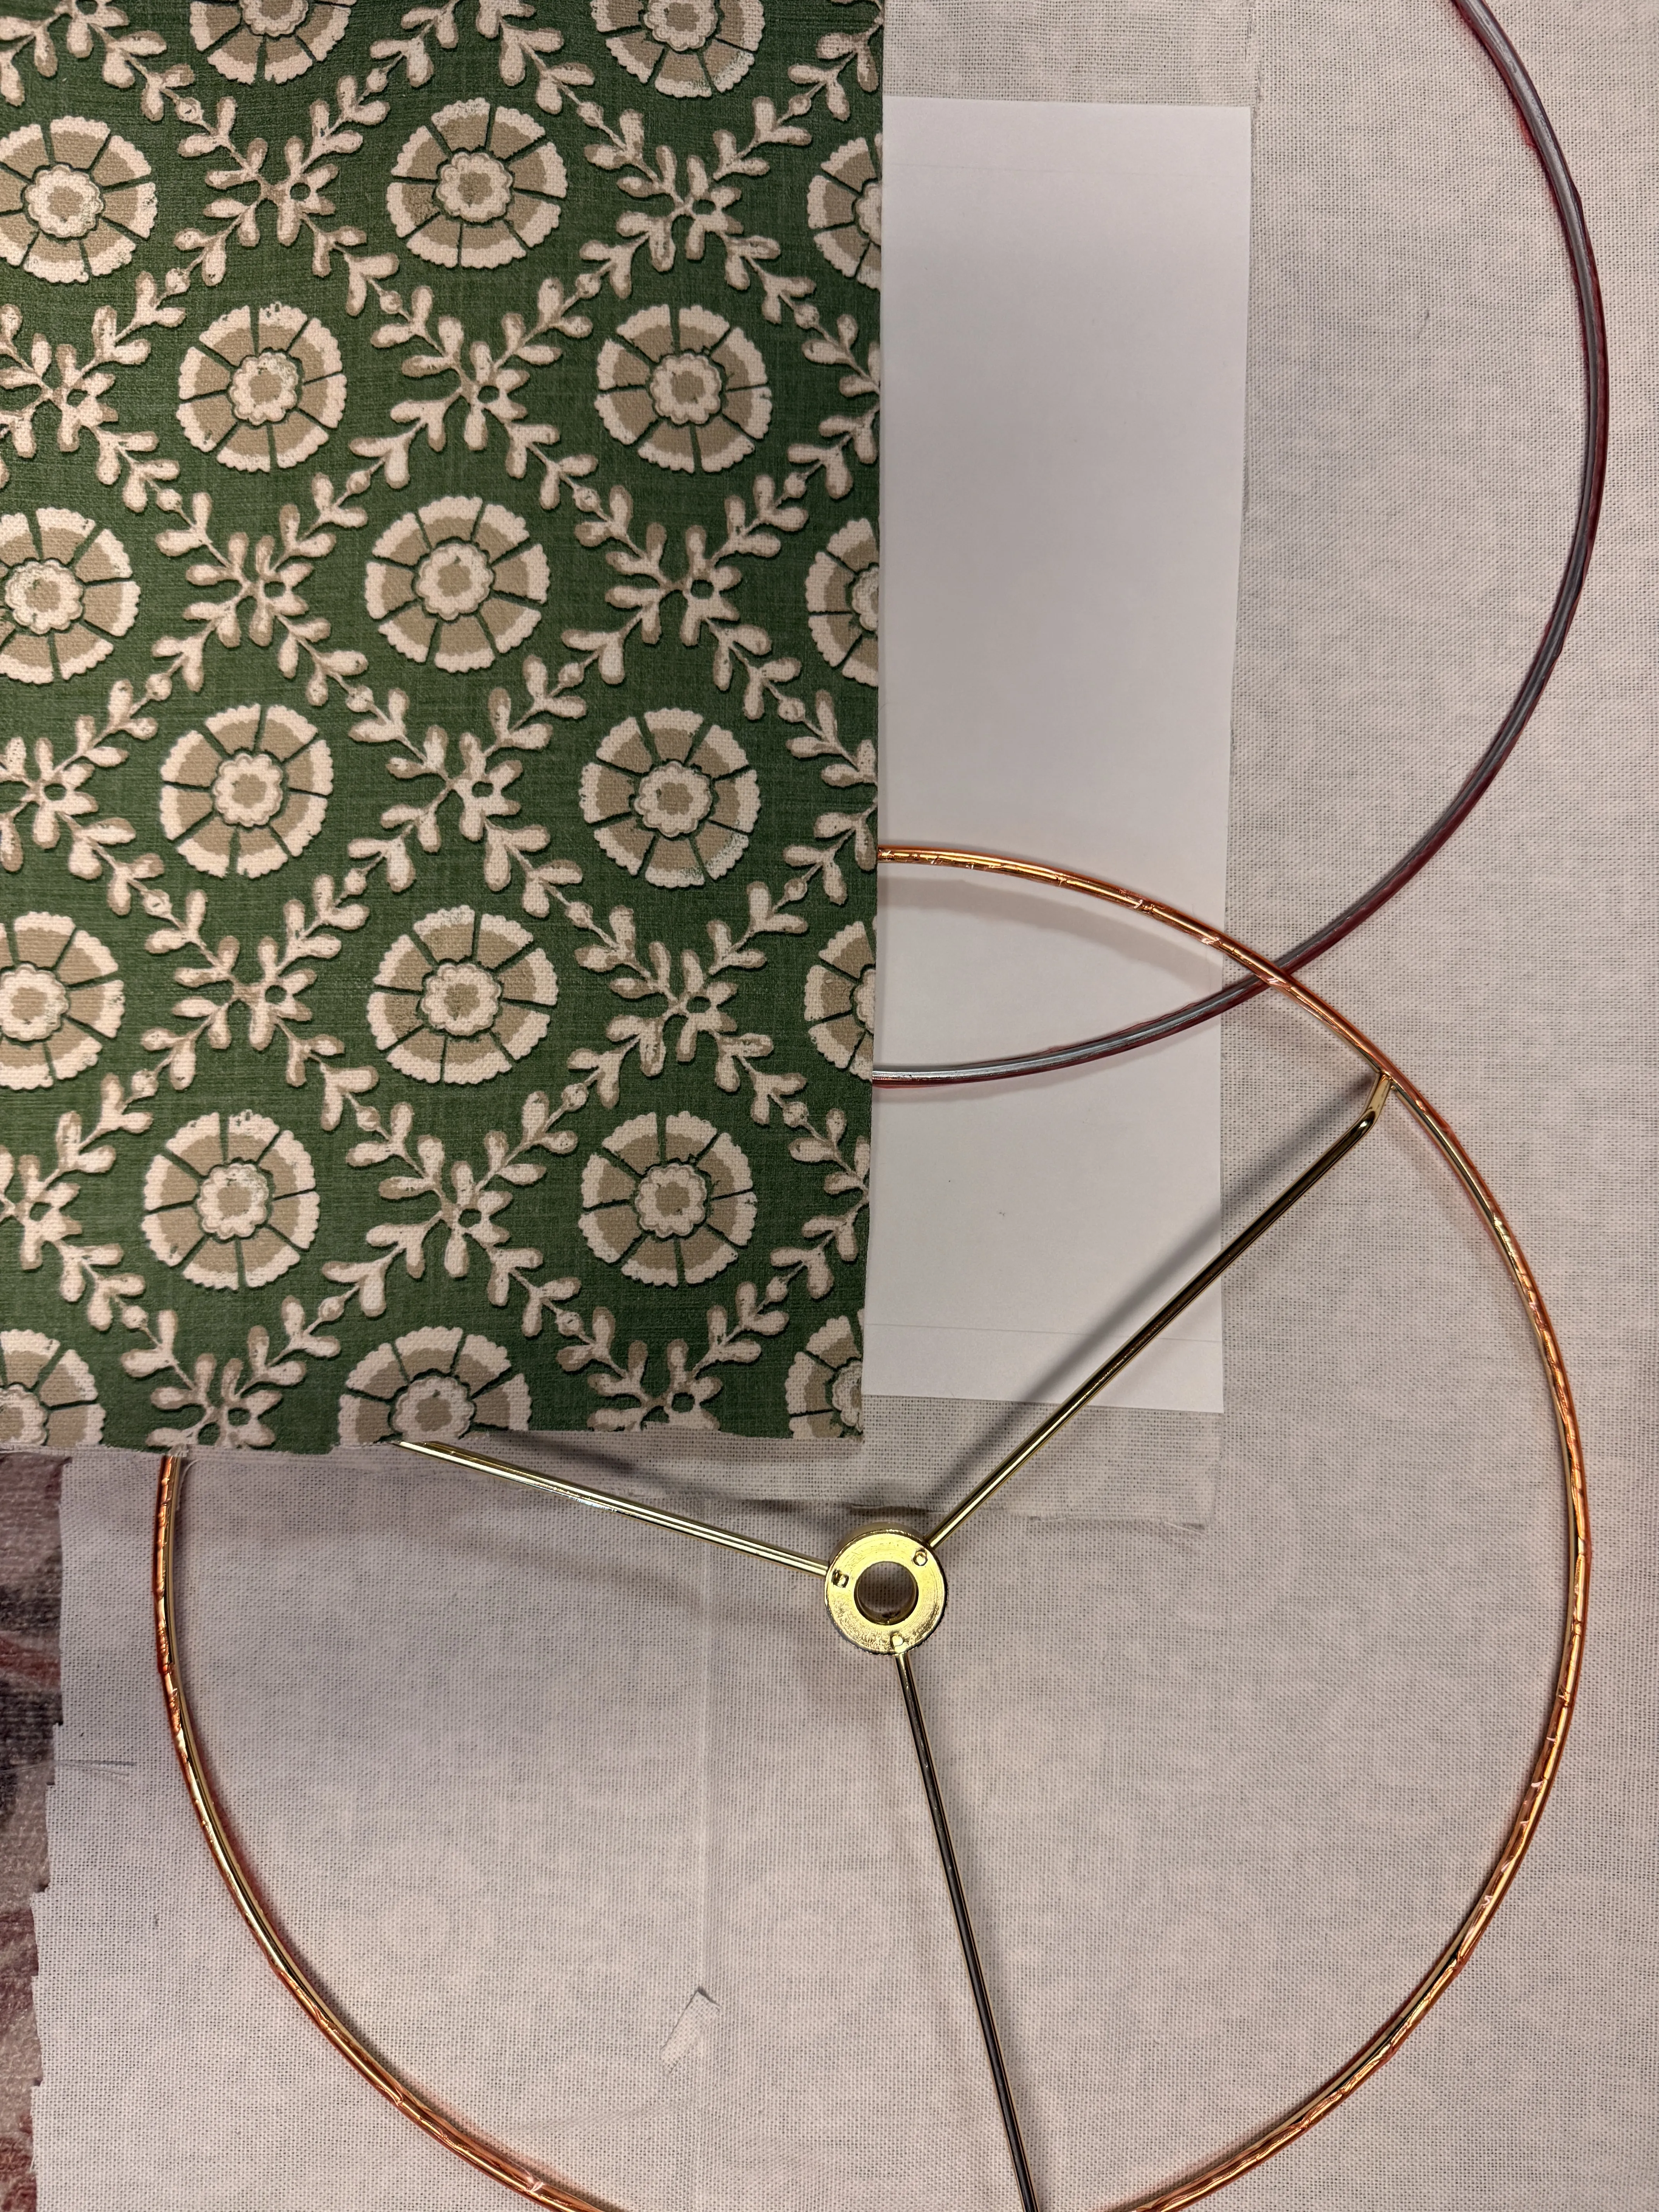
You need more patience than equipment: a clean hardback shade, light or medium-weight fabric, sharp fabric scissors, a tape measure, plain paper for a pattern, painter’s tape, clothespins or small clips, and an adhesive made for fabric or lampshade work. A narrow strip of matching trim or bias tape is optional, but it can give an edge a quiet, finished line.
Choose fabric with an eye for both the lamp and the light. Linen, cotton, and stable cotton-linen blends are dependable because they press cleanly and do not fight the curve of the shade. Avoid thick upholstery fabric, heavy coatings, very loose weaves, or anything so sheer that the old cover, glue marks, or every fold will show through. A bold print can be beautiful, but check that its scale does not make a small shade feel fussy.
Before you commit, hold a small offcut against the existing shade and turn the lamp on using only the bulb type and wattage specified for that lamp and shade. Look for unexpected transparency, hot spots, or a pattern that becomes too busy in transmitted light. Work with the lamp unplugged, let the bulb cool fully first, and do not use a heat-producing bulb as a test. This little check is what separates a pleasing fabric choice from a surprise at dusk.
Know the difference between a cover project and a frame rebuild
A hardback shade has a continuous, firm wall beneath its outer finish. It is the sensible starting point for this project because the existing body gives the new fabric a stable surface. A wire-frame shade, by contrast, may have fabric stretched, sewn, pleated, or laced directly over the frame. It can be beautiful, but recovering it is a different craft project. The old cover may be acting as part of the structure, and a simple adhesive wrap can distort the frame or leave the lining exposed.
Look inside before you buy materials. If you see a smooth, unbroken lining, a clean vertical seam, and a firm exterior, you are likely dealing with a hardback shade. If you see open ribs, stitched fabric, a separate inner lining, or a loose fabric shell, treat it as a frame rebuild. Photograph it, preserve any original trim that may be useful as a reference, and consider whether a professional shade maker is the more respectful choice.
This distinction also protects the lamp’s proportions. A shade with an unusual scallop, a deep pleat, a painted parchment finish, or a very narrow top is not improved by forcing it into the simplest method. Sometimes the right restoration is gentle cleaning. Sometimes it is a new shade in a similar spirit. There is no prize for saving every layer when a replacement will be safer, better fitting, and more beautiful.
Make a pattern that follows the shade, not a guessed rectangle
A drum shade is the easiest shape to recover because its sides are straight. A tapered shade needs a curved pattern. Rather than estimating its circumference, use paper to capture the actual path. Tape together enough paper to wrap around the shade, then line one long paper edge with the lower rim. Mark the paper as you slowly roll the shade across it, keeping the rim aligned to the same edge. Mark the upper rim in the same way.
Unwrap the paper and cut along both marked lines. You now have a pattern that understands the taper. Set it on the shade once more before cutting fabric, and add a modest allowance around the top, bottom, and seam edge so there is enough to turn inward neatly. If the fabric has a directional print, place the pattern deliberately. A bird upside down or a botanical motif cut in half will be the first thing a careful eye notices.
Press the fabric before measuring it. A wrinkle pressed into place under adhesive is nearly impossible to make charming later. Keep the pattern, grain, and print placement simple. The goal is not to prove that this was handmade. The goal is for the lamp to look as though the right shade had always existed for it.
Prepare the old shade for a smooth new surface
Remove old fringe, loose braid, and decorative trim with care. If the old fabric is sound, smooth, and clean, it can act as a stable base for the new cover. Brush away dust and make sure no lifted edge remains. A raised ridge or loose thread will telegraph through most fabrics, especially when the lamp is lit.
Do not attack a hardback shade with water, steam, or a soaking cleaner. Moisture can soften the adhesive that holds the original layers together and can leave a new cover rippled. If the shade needs a light refresh before recovering, use the gentle dry methods in Re.’s lampshade cleaning guide, then allow it to rest completely before continuing.
Set the seam at the back of the finished lamp whenever possible. That gives the front a continuous field of fabric and lets any tiny overlap sit in the least visible place. It is a small choice, but rooms are made of small choices.
Apply the fabric gradually, one calm section at a time
Lay the cut fabric face down on a protected surface. Position the shade at the starting seam so the fabric allowance extends beyond the top and bottom rims. Follow the adhesive manufacturer’s directions, using a light, even application rather than a wet, shiny layer. Too much adhesive is an invitation to stains, bubbles, and a stiff, uneven finish.
Begin at the seam and press only a short section into place. Roll the shade slowly across the fabric, smoothing from the center outward with clean hands as you go. Pause whenever you see a bubble or diagonal pull. It is far easier to lift and correct a small area now than to live with a wrinkle around the whole lamp. Clips can hold the turned edges while the adhesive sets, but they should support the work, not crush it.
When you return to the starting point, fold the final vertical edge under for a clean seam, then overlap it just enough to lie flat. Turn the top and bottom allowances to the inside in small sections. On a tapered shade, tiny notches in the allowance can help it curve without puckering, but stop well short of the visible edge. Let everything dry fully before trimming, adding braid, or putting the shade back on the lamp.
Finish the edges, then check the lamp as a whole
Once the adhesive is dry, look at the shade from its usual viewing distance. Check that the top and bottom rims read as even, the seam stays at the back, and the pattern is sitting level. Add a restrained braid or ribbon only if it solves an edge that needs definition. A clean edge is often more elegant than an enthusiastic one.
Put the shade back on the lamp, then step back. Does it cover the hardware comfortably? Does the width leave enough room on the table? Does the fabric support the base rather than compete with it? If the answer is uncertain, the problem may be proportion rather than workmanship. Re.’s guide to lampshade shapes is useful for judging whether a different silhouette would serve the lamp better.
Make the final light check after the adhesive has cured. Use the correct bulb type and rating for the lamp, keep fabric clear of the bulb, and do not leave a newly recovered shade unattended for its first use. If it smells hot, shows discoloration, or feels unstable, turn the lamp off and reassess. A recovered shade should feel settled and safe, not merely photogenic.
When a new custom shade is the better restoration
Recovering is satisfying when the original shape and fitting are right. It is not the best answer when the frame is damaged, the shade is too small or too large for the base, or the room needs a different kind of light. In those cases, a new shade can honor the lamp more honestly than asking an old structure to keep going.
Re. makes custom lampshades around a lamp’s measurements, its fitter, and the role it plays in a room. A few photos, the current shade measurements, and the base dimensions are enough to begin a conversation. That is especially helpful for a treasured vintage base, a hard-to-fit lamp, or a fabric choice that deserves to be composed rather than simply wrapped.
A quick recovery checklist
- Confirm that the shade body, rings, seam, and fitter are sound.
- Choose a stable fabric and test it under the lamp’s proper bulb.
- Roll a paper pattern around tapered shades instead of guessing the cut.
- Apply adhesive lightly and smooth the fabric in short sections.
- Keep the finished seam at the back and let the shade dry fully.
- Step back, check the proportion, and choose a new shade when the old one cannot do the lamp justice.
Common questions about recovering a lampshade
Can every lampshade be recovered?
No. Recover a shade only when its hardback body is dry, firm, and holding its shape, and its wire frame and fitter are sound. A brittle, warped, scorched, water-damaged, or loose shade is a better candidate for replacement or a newly made shade.
What fabric works best for recovering a lampshade?
Light to medium-weight cotton, linen, or a stable cotton-linen blend is usually easiest to smooth around a hardback shade. Test a small piece against a lit lamp first. Very heavy, rubbery, or open-weave fabric can wrinkle, block too much light, or reveal glue lines.
Do I need to remove the old covering first?
A clean, smooth hardback shade can often be covered over. Remove loose trim and anything that creates ridges. If the old surface is peeling, stained through, damp, or damaged, do not simply hide it under new fabric, as the new finish will not be durable.
When should I choose a new custom lampshade instead?
Choose a new shade when the frame is damaged, the fit is wrong, the old shade is unsafe, or you want a different proportion or shape. A made-to-order shade gives the lamp a fresh start without asking an old frame to do work it cannot support.
Related posts

Lampshades
How to Clean a Lampshade Without Damaging It
A gentle, material-by-material way to clear dust and light marks while protecting a lampshade’s shape, fabric, and character.

Lampshades
How to Choose a Lampshade That Fits Your Lamp
An easy way to choose lampshade size, shape, fitter, fabric, and light, so your lamp feels right in the room.