
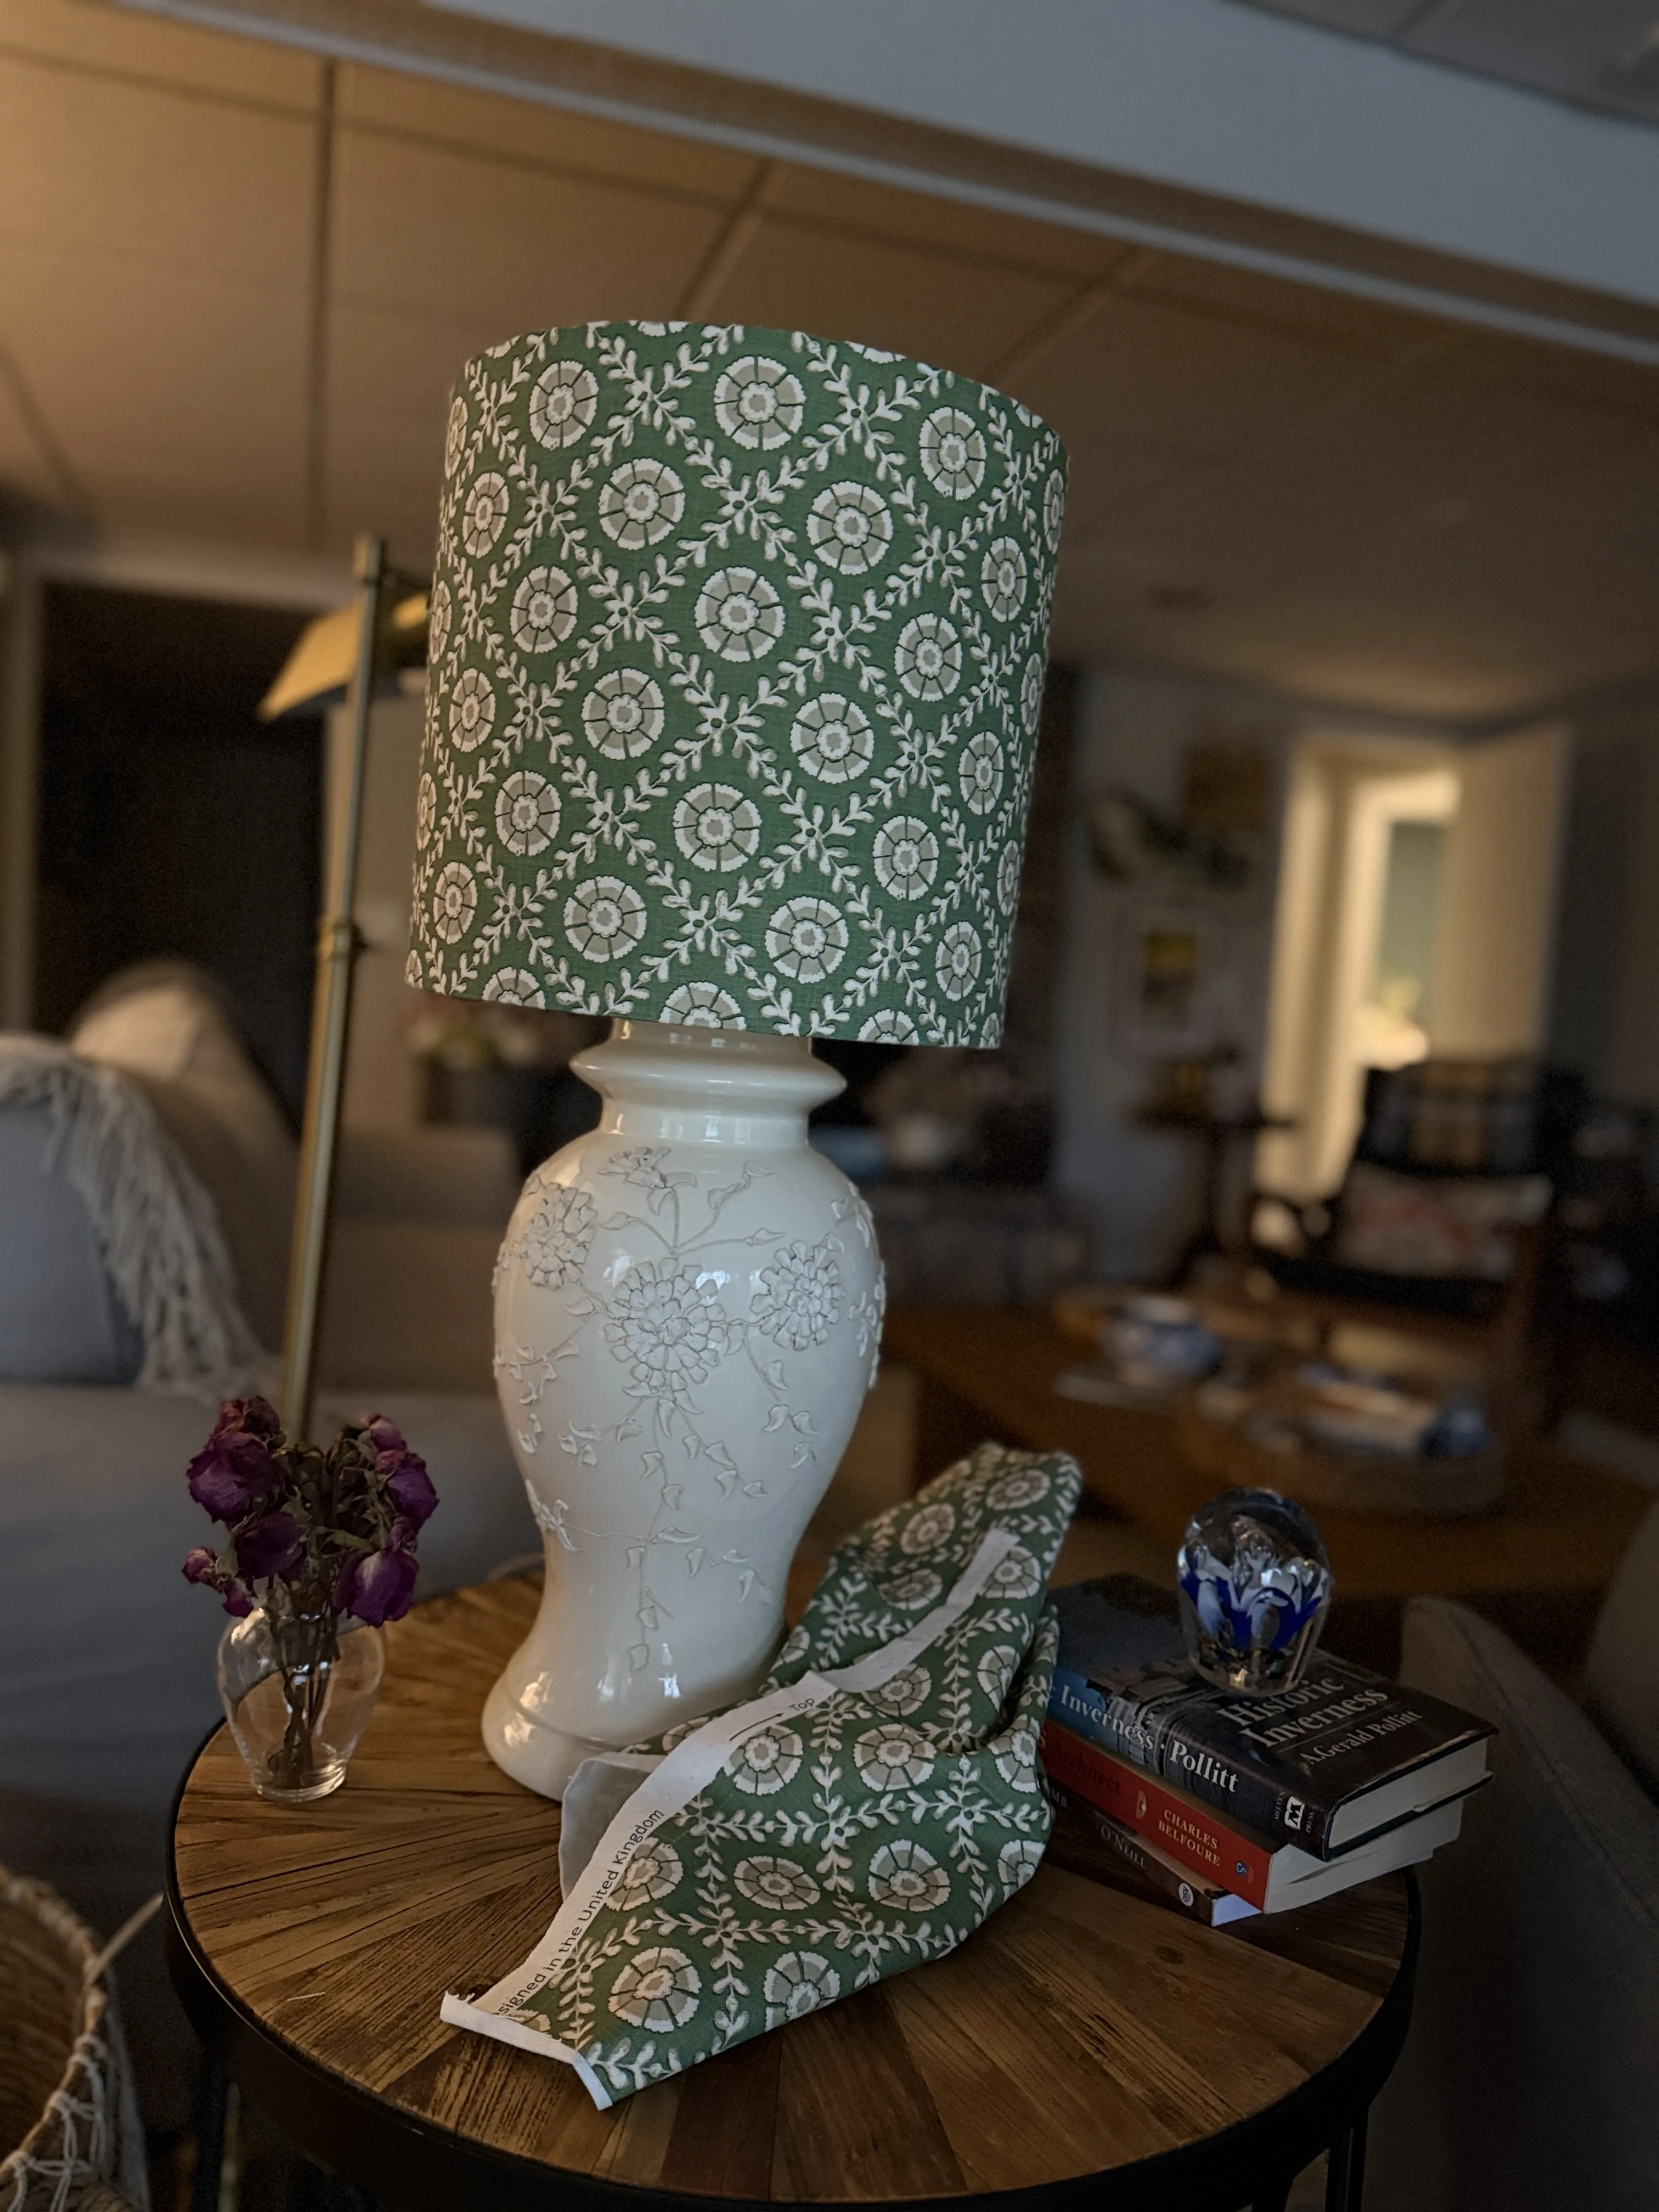
A bell-shaped lampshade can make a favorite lamp feel soft, generous, and quietly traditional. Its curve is also what makes recovering it different from covering a simple drum shade. The fabric needs to follow a taper, not a rectangle. With a sound hardback shade, a patient paper pattern, and a fabric that behaves well in light, it is possible to give the lamp a new finish without losing the shape that made it worth keeping.
This is a cover project, not a repair for a failing lamp or shade. Unplug the lamp before you start, let the bulb cool, and stop if the socket, cord, fitter, or frame feels uncertain. The goal is not simply a prettier surface. It is a shade that still sits level, contains the light comfortably, and makes the whole lamp feel more at home.
First, decide whether the bell shade is a good candidate
Take the shade off the lamp and look at it from the inside and outside. A good candidate is a hardback shade with a firm, continuous body, stable top and bottom rings, a secure fitter, and a lining that is clean enough to retain. It can be dated, faded, or covered in a fabric you no longer enjoy. It should not be brittle, water-marked, warped, heat-scorched, or coming loose from its rings.
Bell-shaped shades vary. Some have a gentle taper from a narrow top to a fuller bottom. Others have a more pronounced sweep, scalloped edge, pleats, or exposed ribs. The simple method below suits the smooth hardback kind. A pleated or wire-frame shade is a different craft project, because its cover may be sewn into the structure. If you can see separate ribs, stitching, or an inner lining suspended inside the frame, preserve it as a reference rather than forcing a new wrap around it.
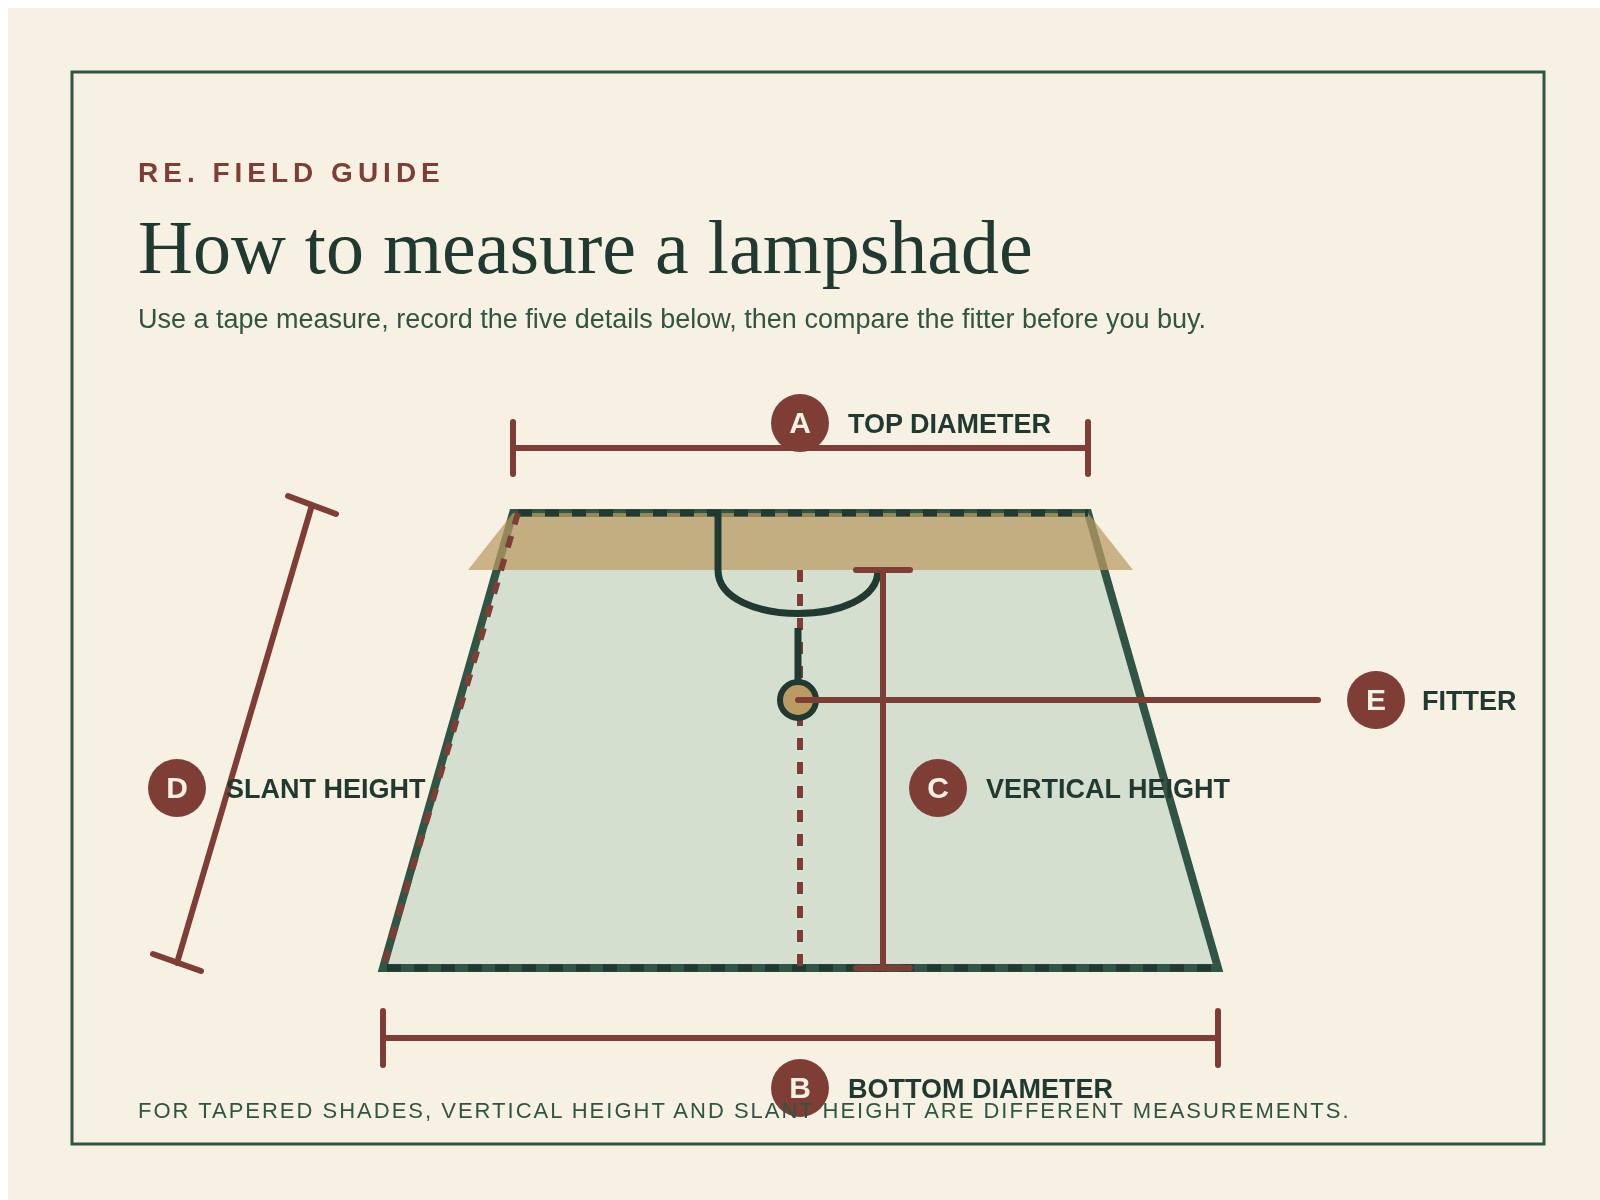
If you are unsure whether the current proportions suit the lamp, pause before buying fabric. Re.'s lampshade measuring guide gives you the top width, bottom width, height, and fitter details that matter. Keeping a sound shade is lovely. Keeping one that is too small, too short, or wrong for the lamp is less useful.
Choose fabric that can follow the curve
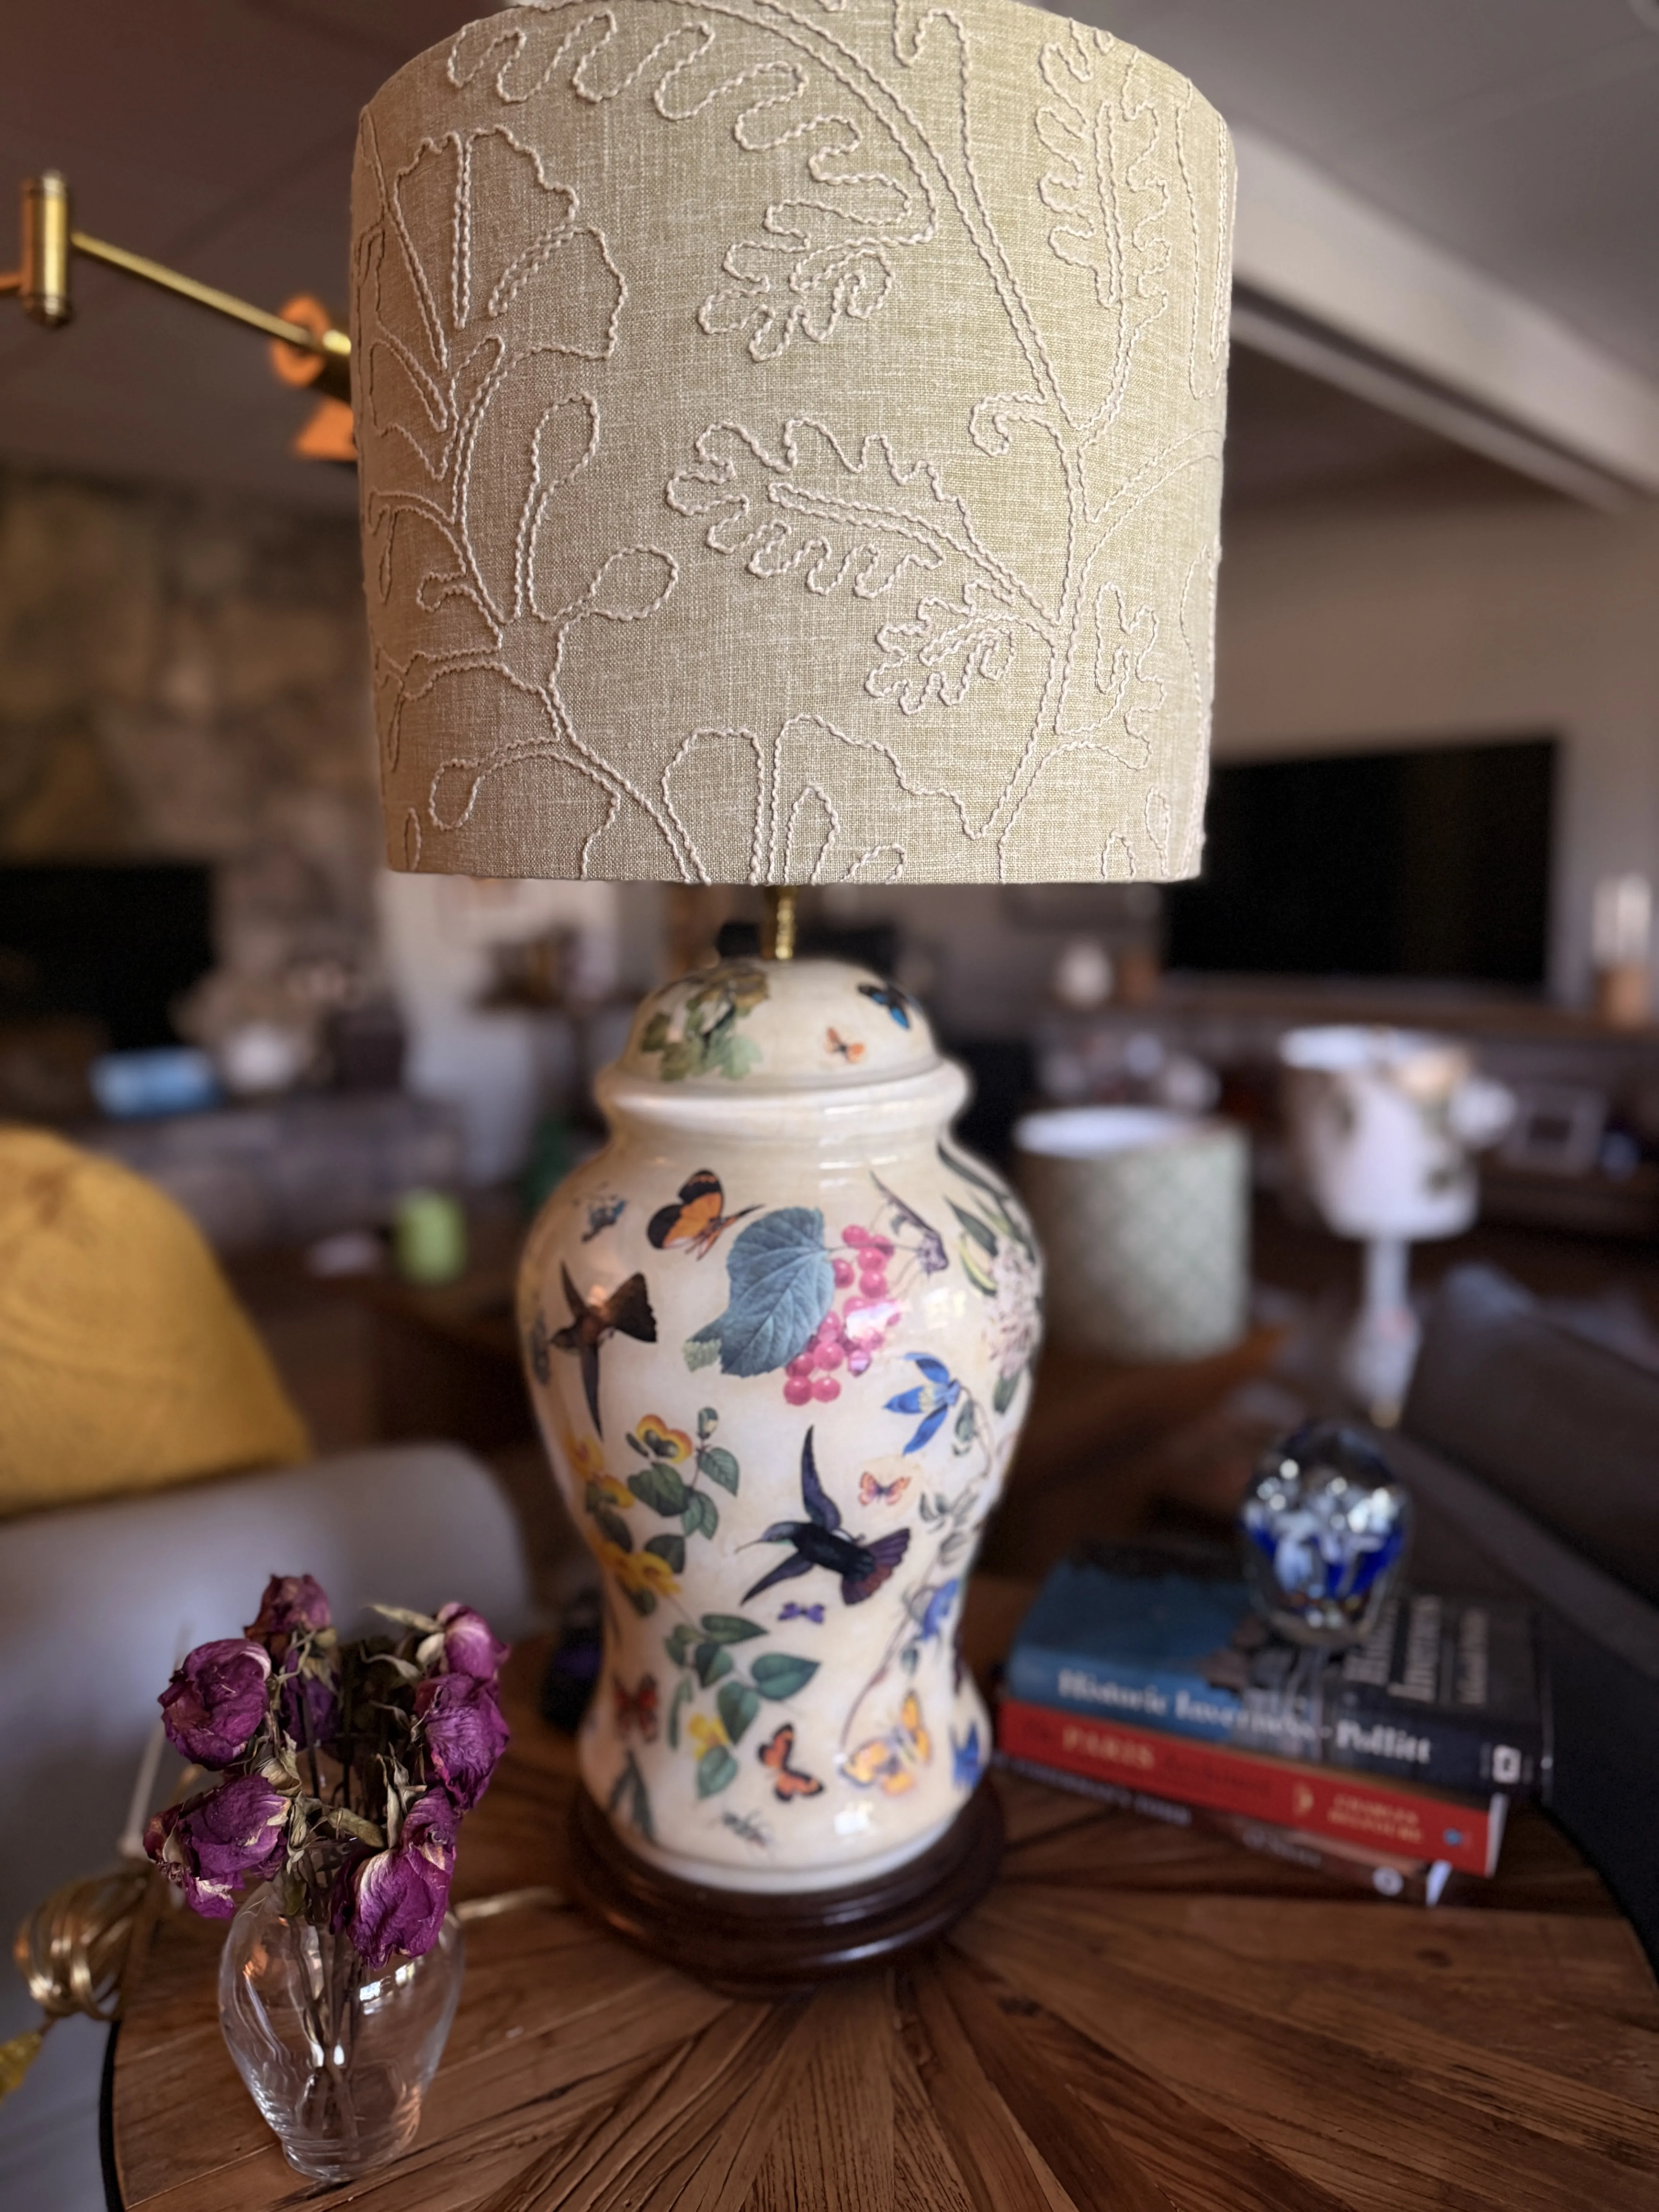
A bell shade asks more of fabric than a straight-sided shade. Choose a light to medium-weight cotton, linen, or stable cotton-linen blend that presses flat and does not fight the taper. A small all-over print, fine stripe, softly woven texture, or plain fabric is usually easier to place than a bold border or a large motif. A dramatic repeat can look wonderful, but only when you are prepared to decide exactly where every part of it lands.
Hold an offcut against the shade in daylight, then again with the lamp on using the correct bulb type and rating for that fixture. The material may look quieter, more transparent, or more crowded when light passes through it. The U.S. Department of Energy notes that enclosed fixtures retain heat and that some LED products are not rated for that use, so check the bulb packaging and the lamp's own guidance rather than assuming any bulb is suitable. Its bulb guidance is a useful reminder that the fit between lamp, bulb, and shade matters.
Avoid heavy upholstery fabric, thick coating, loose open weaves, and anything that would make the old shade show through. You are looking for a fabric that can sit smoothly over the existing surface, not one that needs to be pulled into obedience. Leave enough extra for a narrow seam and for turning the top and bottom edges inside the rim.
Make a rolling paper pattern before you cut
The most common mistake with a bell shade is treating it like a rectangle. Its tapered sides mean the top and bottom edges of the pattern will not run parallel. A paper pattern solves that without requiring complicated calculations. Tape together plain paper until it is wide enough to wrap around the shade. Mark which side will become the top, and choose where the finished seam should sit, usually toward the back of the lamp.
Place one long edge of the paper against the lower rim. Roll the shade slowly across the paper, keeping that rim aligned to the same edge as you go. Mark the paper along the upper rim at regular points. When the shade has completed one rotation, unwrap the paper and connect the marks into a smooth curve. Cut the paper, wrap it around the shade once more, and refine it until it rests flat with a small overlap at the seam.
This slow roll captures the actual shape rather than a guessed circumference. It also lets you decide how a print will sit before you touch the good fabric. The basic measurements still matter: top width, bottom width, slant, and vertical height are the dimensions commonly used for replacement shades, as this lamp-shade fitting guide explains. For the recover, the paper pattern is the piece that turns those dimensions into a graceful cover.
Prepare the old surface without soaking it
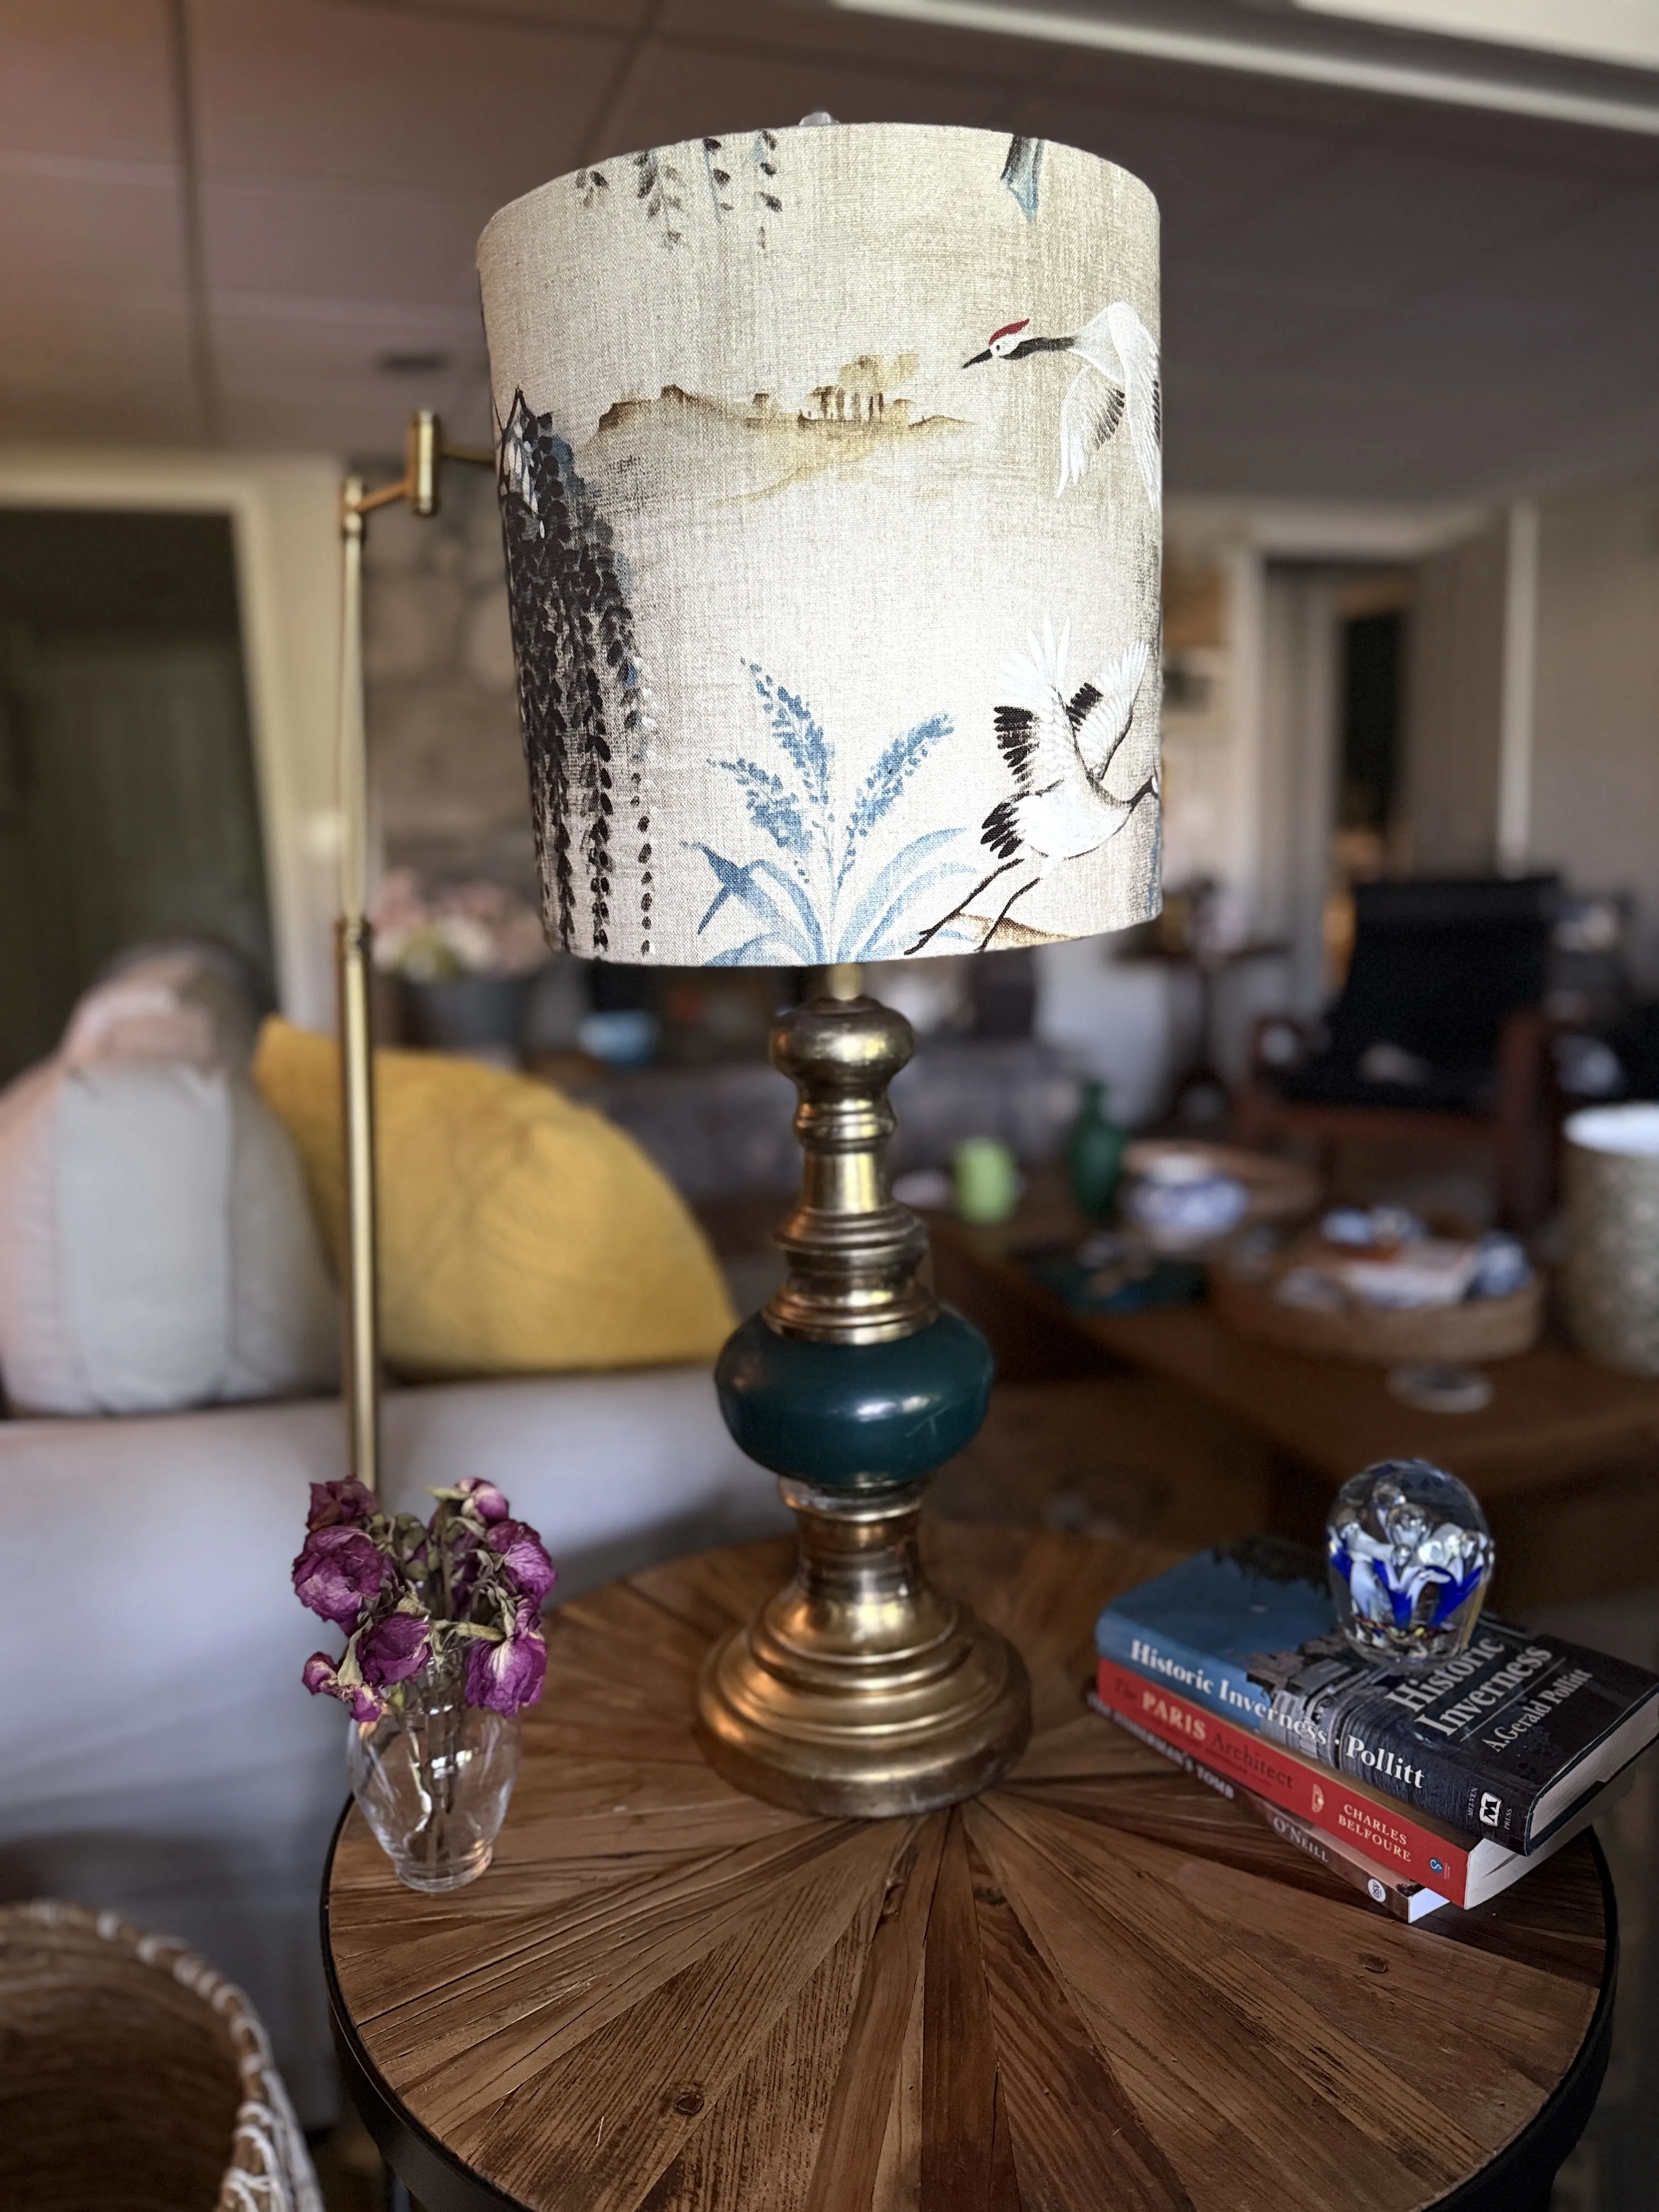
Remove loose fringe, braid, ribbon, and any trim that makes a ridge. Brush away dust with a soft, dry brush or cloth. If the old surface is smooth, dry, and firmly attached, it can be a stable base for the new fabric. If a seam is lifting or the covering is peeling, do not hide it beneath the new layer. Those faults will show through, and they can leave the new cover without a reliable foundation.
Skip water, steam, and aggressive cleaners. Moisture can soften the adhesives already holding a hardback shade together. If the shade only needs a gentle freshen before you decide whether to recover it, use the dry methods in Re.'s lampshade cleaning guide. Let it rest completely before moving on. The new fabric should meet a clean, dry surface, not a hopeful one.
Lay the finished paper pattern on the wrong side of your pressed fabric. Add a modest allowance around the top and bottom for turning inward, plus a little extra at the back seam. Mark the grain and pattern placement lightly. If the fabric has birds, flowers, stripes, or a distinct direction, make one final check before cutting. The curve can shift a motif more than you expect.
Apply the cover slowly from the back seam
Set the cut fabric face down on a protected work surface. Position the shade at the seam edge and use an adhesive specifically suitable for fabric or lampshade work, following its instructions. Apply only a light, even amount. Too much adhesive is not extra security. It is how stains, bubbles, and rigid patches enter the finished shade.
Begin with a short section at the back seam. Smooth the shade into the fabric from the center out, then roll it a little at a time. Keep the top and bottom allowances even as you move. Do not pull the fabric tight in an effort to make it behave. A bell shade wants careful settling, not tension. If a bubble, diagonal pull, or crooked print appears, lift that small section while you still can and reset it.
When you return to the seam, fold the raw vertical edge under for a clean finish and let it overlap only enough to lie flat. Turn the top and bottom allowances inward in short sections. Tiny, shallow notches in the hidden allowance can help fabric follow a strong curve, but never cut close to the visible rim. Clips can hold the edges while the adhesive sets, provided they do not mark the fabric.
Finish the edge and judge the lamp from the room
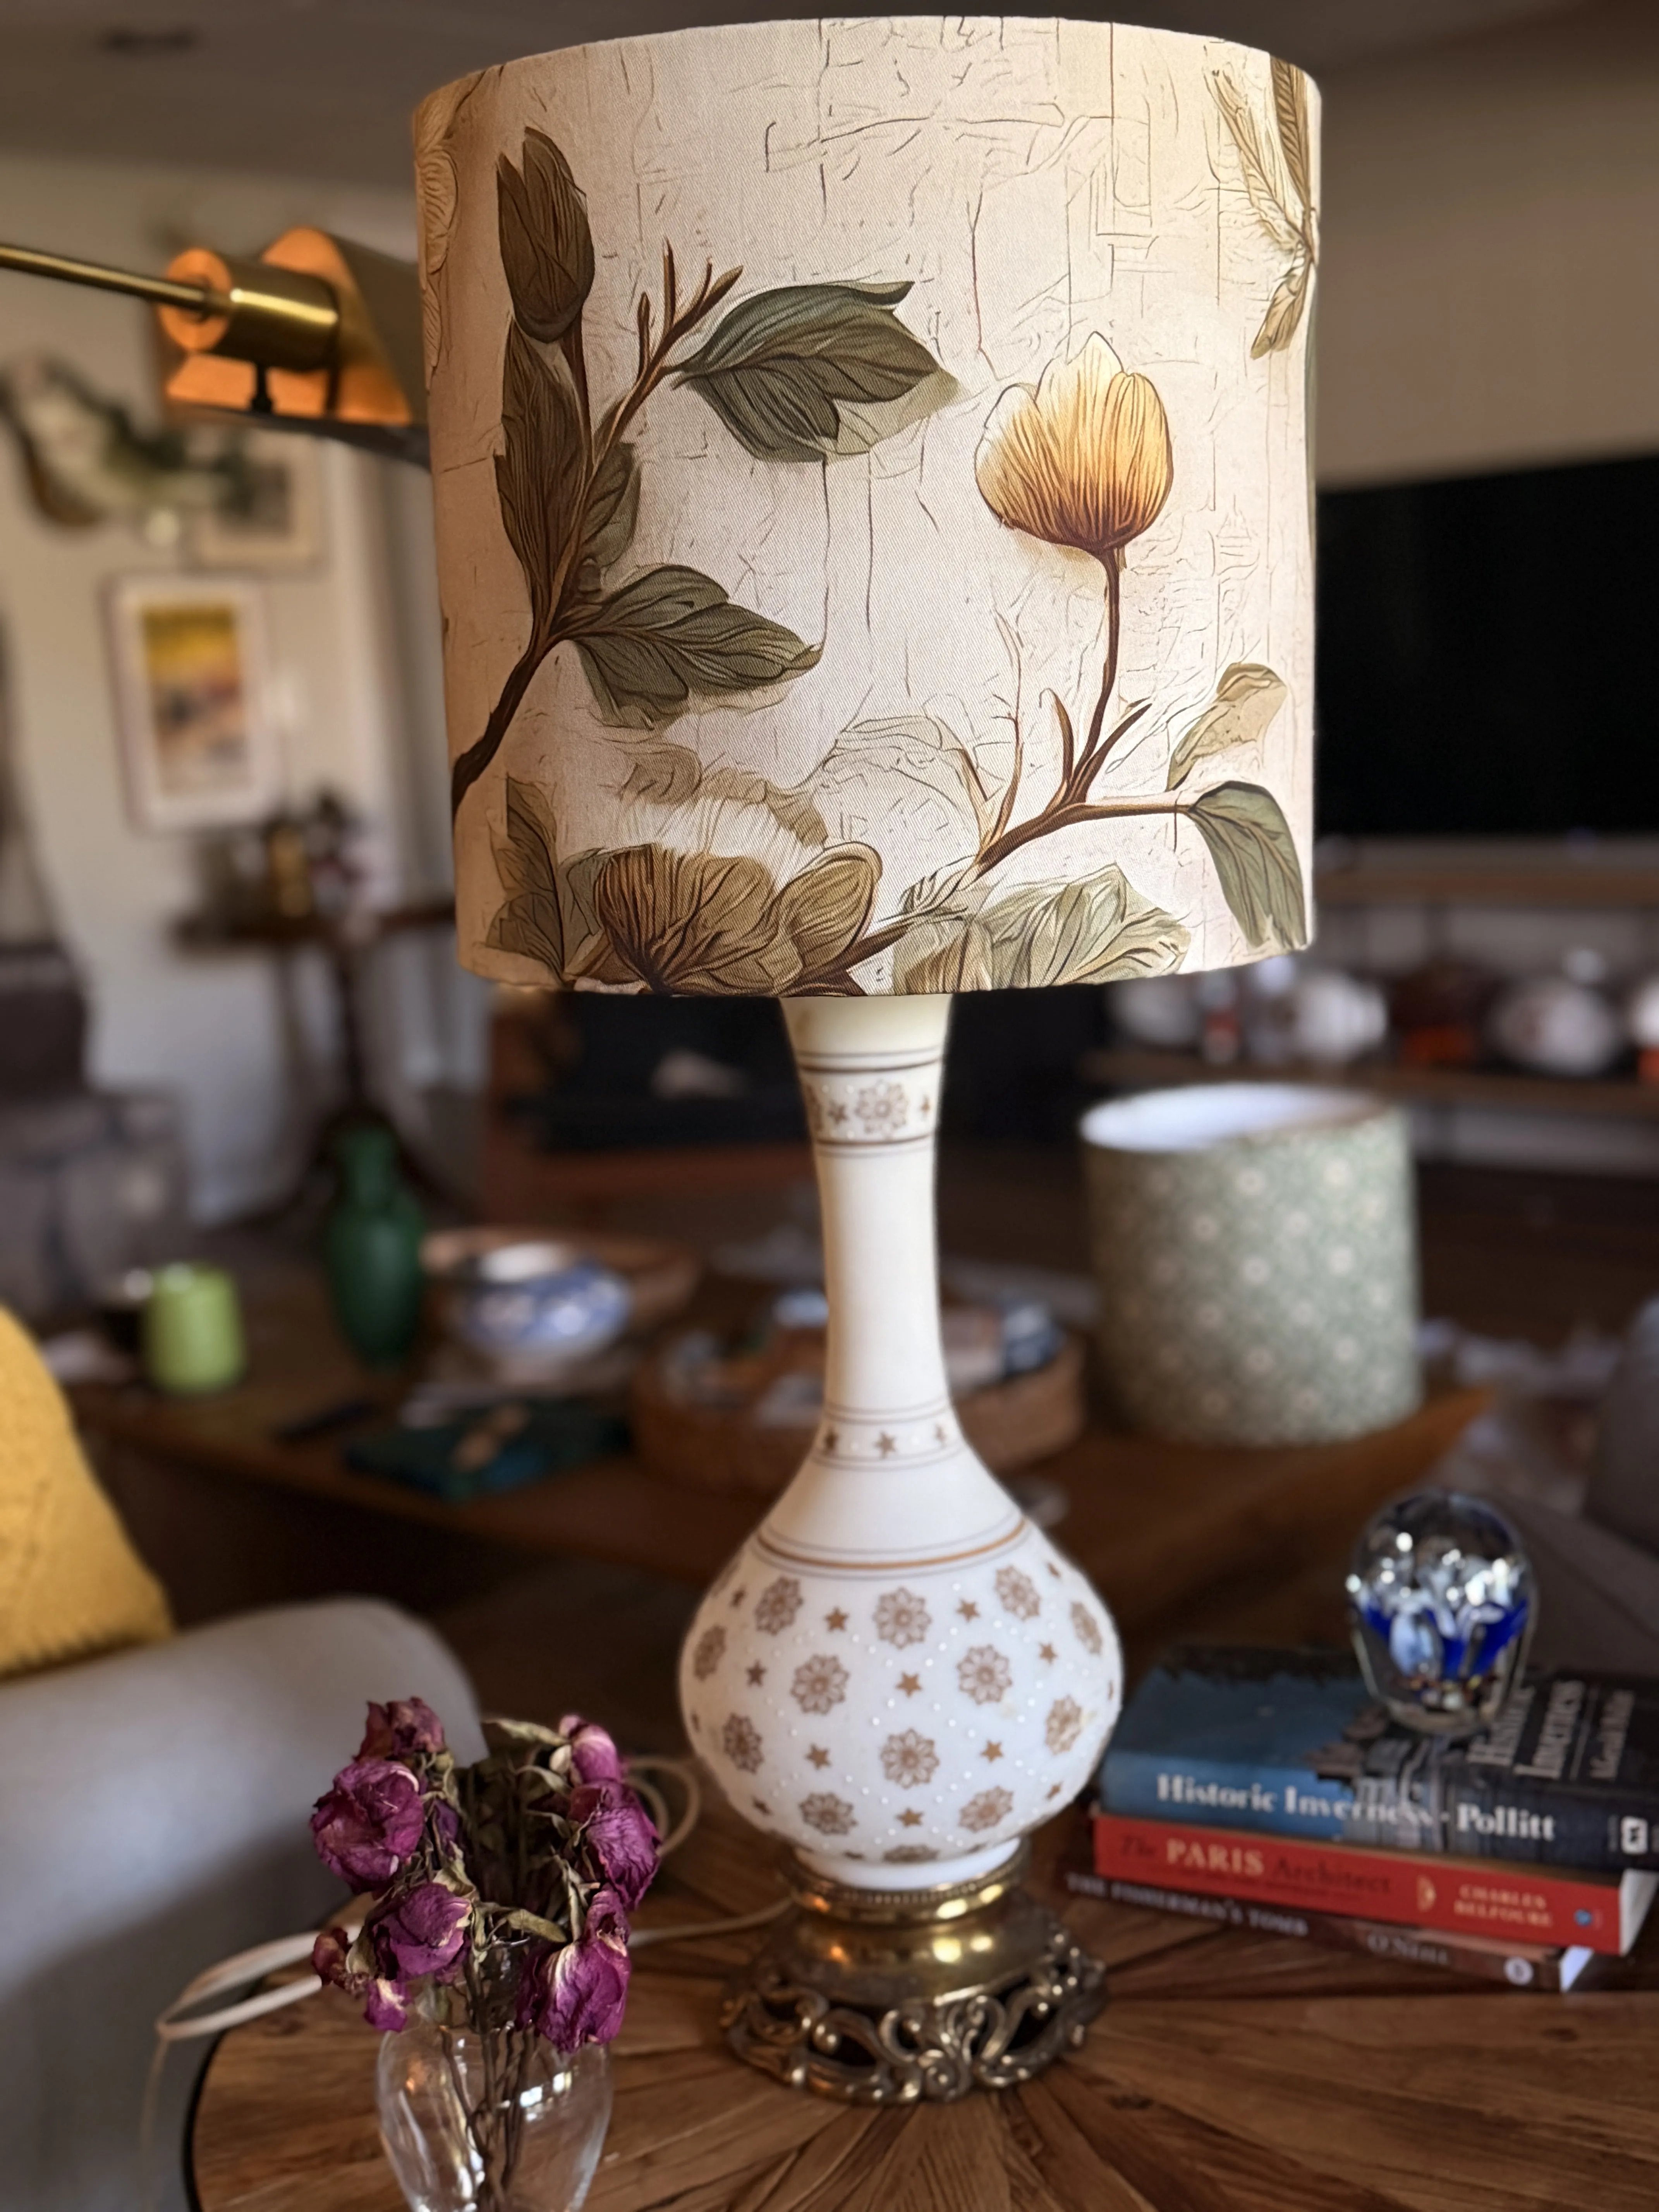
Let the shade dry fully before adding trim or putting it back on the lamp. Then check the rims, the seam, and the pattern from the distance at which the lamp is actually seen. The top and bottom should read as level. The seam should disappear toward the back. A narrow braid or ribbon can quietly define an edge, but it should solve a real finishing need, not become a distraction from a good fabric.
Put the shade back on the lamp and sit where the light is used. Is the bulb comfortably out of view? Is the shade wide enough for the base and the nearby table? Does the curve suit the lamp's own shape? Re.'s guide to lampshade shapes can help when the issue is silhouette rather than workmanship. A bell shade often complements a rounded or traditional base, but it should still earn its place in the room.
For the first evening, use the lamp attentively. Make sure the shade stays stable, the fabric remains clear of the bulb, and nothing smells hot or discolours. A recovered shade should give a lamp a calm, even glow. If the old frame is shaky, the fitter does not sit securely, or the proportions still feel wrong, the honest next step is a new shade.
Keep the character of the original shape
A bell shade has a particular job in a room. Its narrow top and fuller lower edge create a softer pool of light than a straight drum, and its curve can give a rounded ceramic, brass, or turned-wood base an easy sense of proportion. Recovering it well means preserving that character, not covering it with so much trim, contrast, or heavy fabric that the original silhouette disappears.
Before adding any final detail, take the shade around the room. Put it on its usual table. Look at it from the doorway, from the nearby chair, and with the overhead lights off. A fabric that feels lively on a worktable may be too busy once the lamp is glowing, while a plain linen can become unexpectedly handsome when it picks up the color of the base. The right finish does not need to announce itself. It simply lets the lamp look as though it belongs there.
This is also why a recovered shade need not look new in the factory sense. A neatly turned edge, a quiet seam, and a fabric chosen with the lamp in mind are enough. The small irregularities that remain should read as evidence of care, not as a contest between the fabric and the form.
When a new custom shade is the kinder choice
A recovery is worth doing when the existing shade has the right shape and a sound structure. It is not a test of determination. A damaged frame, failing lining, unusual fitter, awkward proportion, or treasured fabric that deserves exact placement may all point toward starting afresh.
Re. makes custom lampshades around the lamp, its fitter, the way it lives in the room, and the fabric that gives it character. A front and side photograph, the current shade measurements, and a note about how the light is used are enough to begin. That route is especially useful when a familiar lamp deserves a more considered answer than a cover can give.
A bell-shade recovery checklist
- Confirm that the shade is hardback, dry, firm, and secure at the rings and fitter.
- Choose a stable fabric and test the look under the lamp's correct bulb.
- Roll a paper pattern around the taper, rather than cutting a rectangle.
- Place a directional pattern before cutting, with the seam planned for the back.
- Use adhesive lightly and correct small pulls before they become full-circle wrinkles.
- Judge the finished shade on the lamp, in the room, and in the light it will actually provide.
Common questions about bell-shaped lampshades
Can I recover a bell-shaped lampshade with patterned fabric?
Yes, but choose a small, forgiving pattern or a texture with no obvious direction. A bell shape tapers, so a broad stripe, border, or large motif can twist as it follows the curve. Make a paper pattern first and place the design before cutting.
Do I need to remove the old fabric first?
Not always. A dry, firm hardback shade with a smooth old cover can accept a new fabric layer. Remove loose trim and anything that makes a ridge. If the old cover is peeling, scorched, damp, or separating from the frame, do not cover over the problem.
Can a wire-frame bell shade be recovered this way?
No. A wire-frame, pleated, or sewn bell shade is a frame rebuild rather than a simple recover. Its textile and lining may be part of the structure, so a new wrap can pull the frame out of shape. A specialist or a new shade is usually the better route.
When should I choose a new shade instead?
Choose a new shade when the rings wobble, the fitter is loose, the lining is failing, the existing size is wrong for the lamp, or the lamp needs a different amount of light. Recovering keeps a good shape in use. It cannot make a failing or badly fitting shape right.
Related posts
Lampshades
How to Recover a Lampshade Without Losing Its Shape
Learn when a hardback lampshade can be safely recovered, how to test the fabric, and how to finish a smooth, durable cover.
Lampshades
How to Measure a Lampshade in 5 Simple Steps
Measure a replacement lampshade with confidence, from the top and bottom width to the height and fitter that help a lamp feel balanced.