
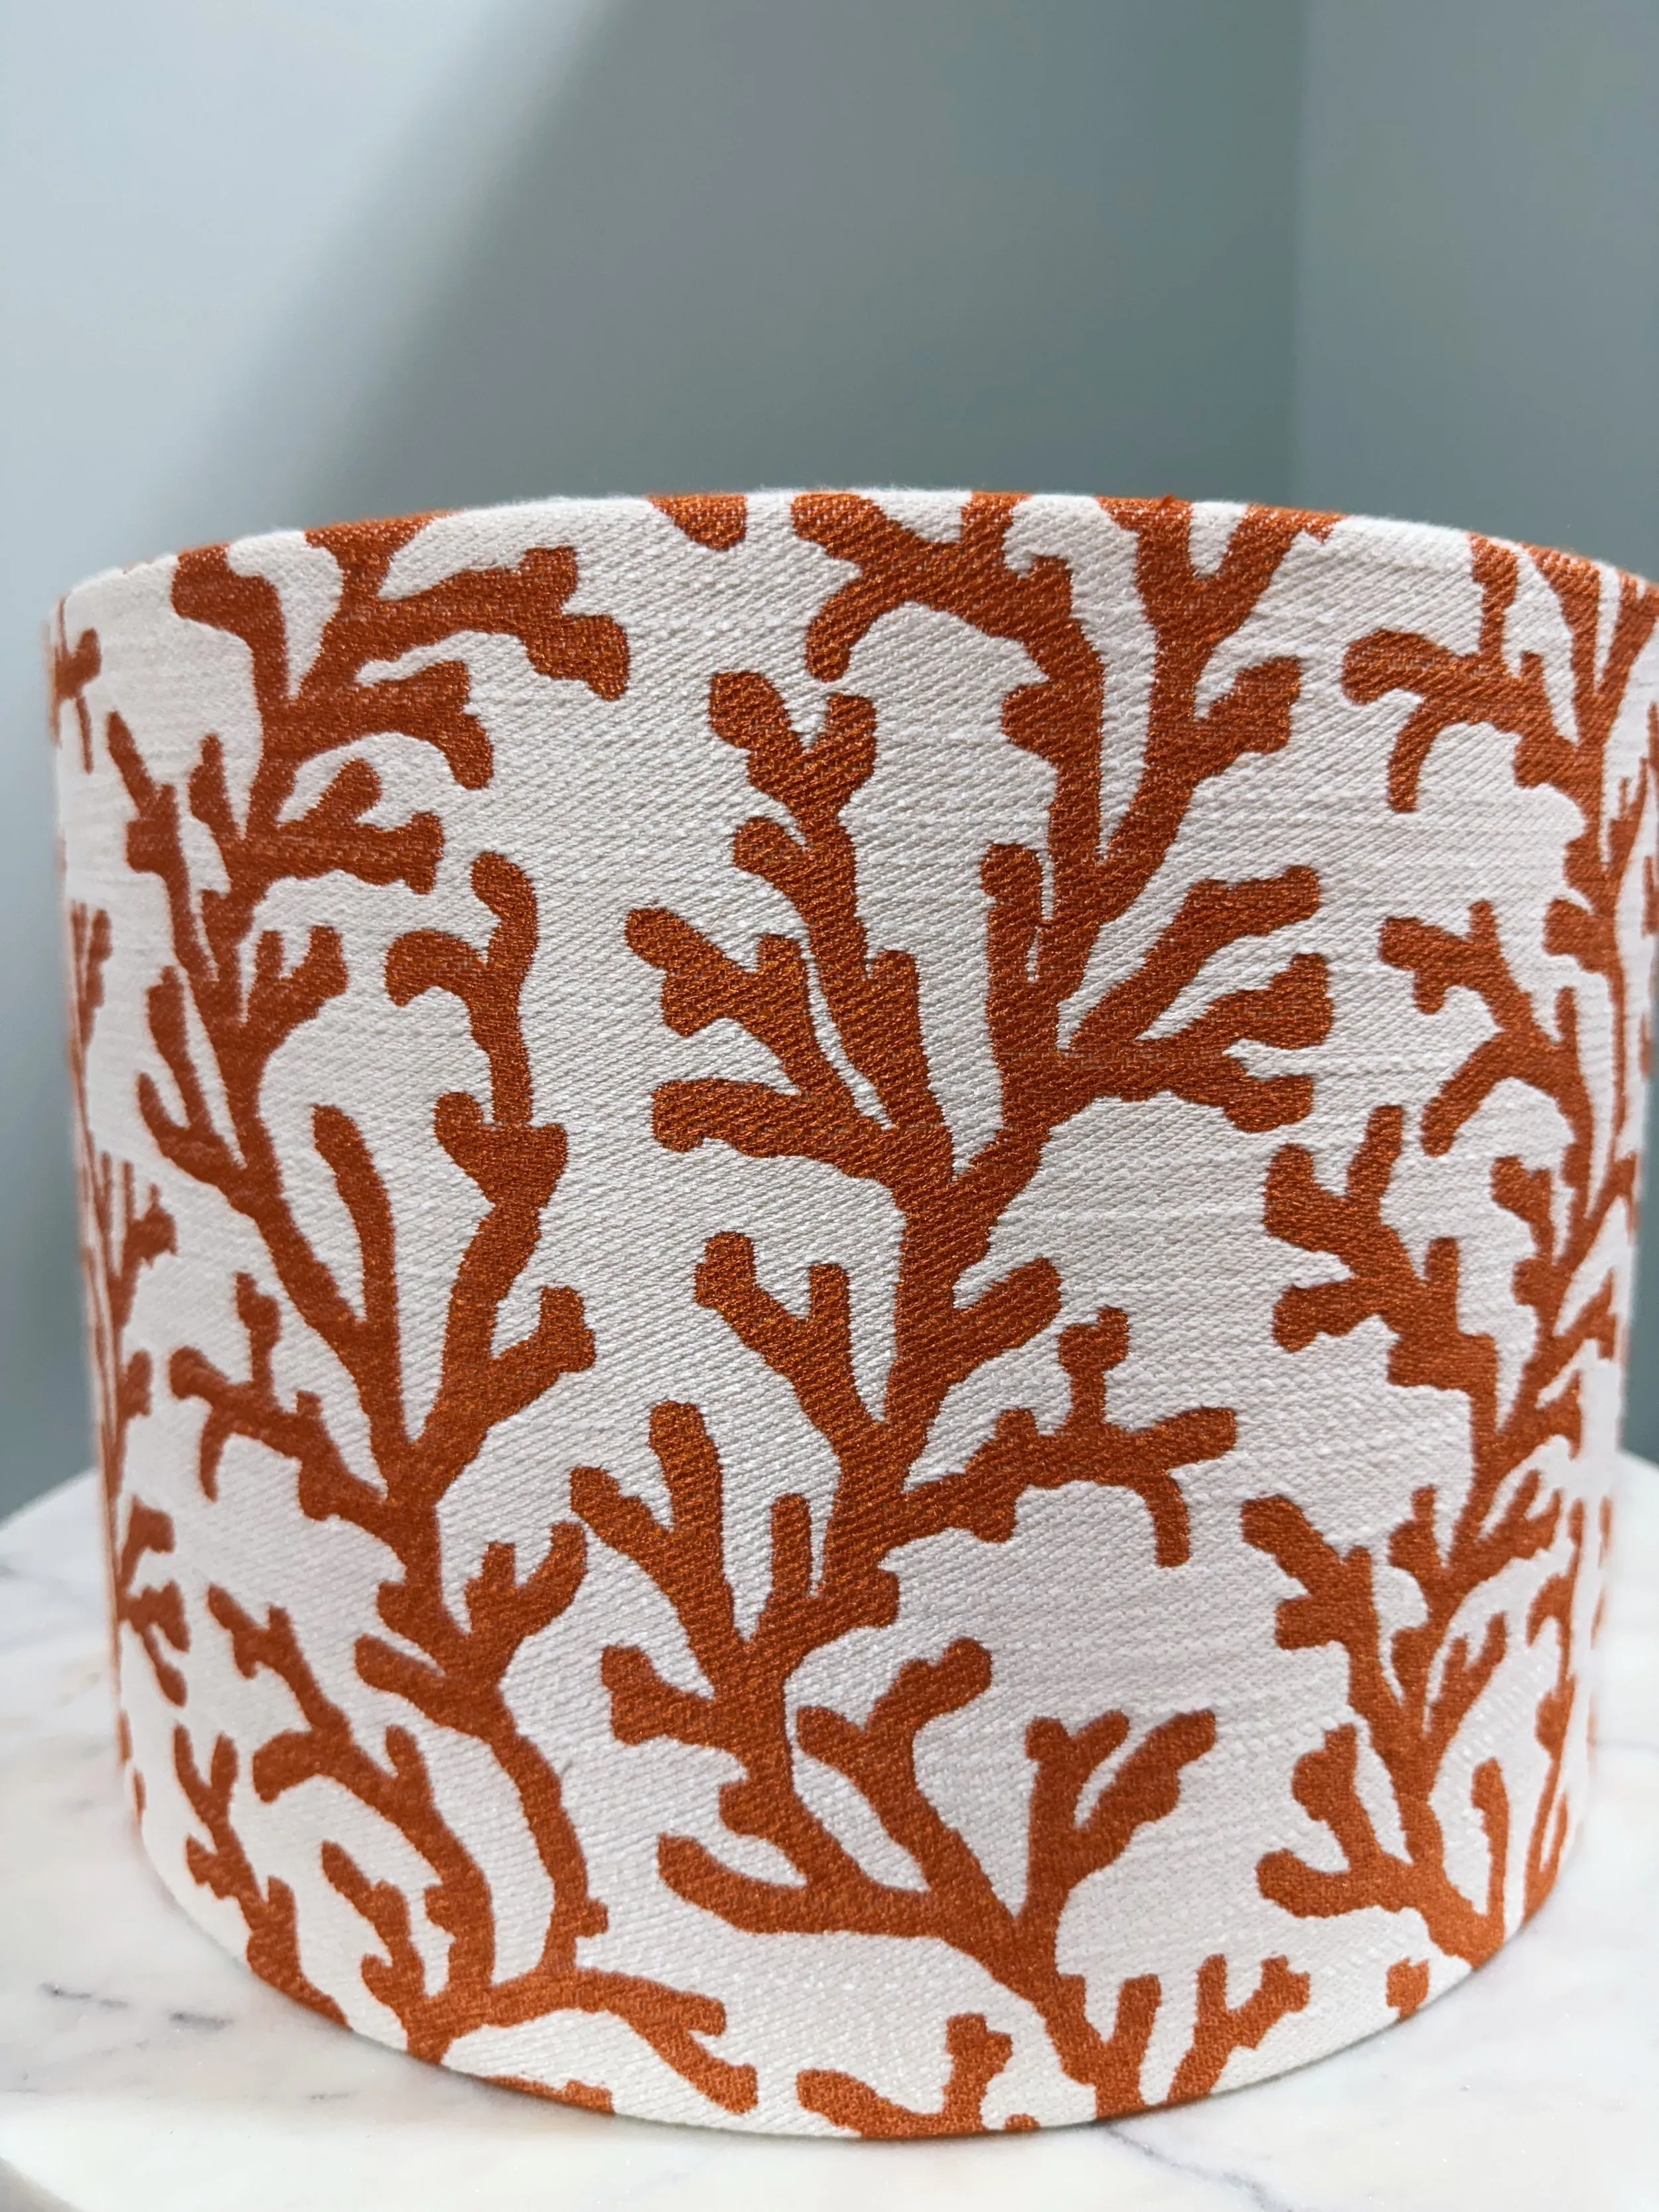
Making a lampshade is most satisfying when the project starts with a simple frame, a fabric you genuinely want to see every day, and a lamp that is already safe and sound. For a first attempt, a straight-sided drum shade made from a purpose-built kit is the kindest place to begin. The shape is forgiving, the panel is rectangular, and the result can make a familiar lamp feel entirely new.
This guide is about the covering and the finish, not electrical work. Unplug the lamp before you measure or test anything. If the cord, plug, socket, or support feels loose or questionable, stop there. A shade can make a good lamp more beautiful, but it cannot make an unsafe lamp safe.
Choose the right first project
Start with a drum-shade kit that includes matching rings, a spider fitter or the fitting your lamp actually uses, and a self-adhesive lampshade panel. A drum shade has equal top and bottom diameters, which means the panel wraps as a rectangle. Tapered, oval, pleated, and hand-sewn shades are wonderful projects, but they ask more of the pattern and the finish.
Before ordering a kit, look at the lamp in the room where it lives. Re.’s five-step measuring guide explains the dimensions worth writing down. The lampshade calculator can help you narrow a reasonable width and height. A good starting proportion still needs to hide the bulb from normal eye level and leave room for a hand, a book, and the rest of the table.
Do not build around a guess about the fitting. A spider fitter rests on a harp and is held with a finial, while uno and clip-on fittings attach differently. If the new shade needs to sit a little higher or lower, the support may be the issue. Re.’s lamp harp guide is useful before committing to a finished frame.
Gather materials made for the job
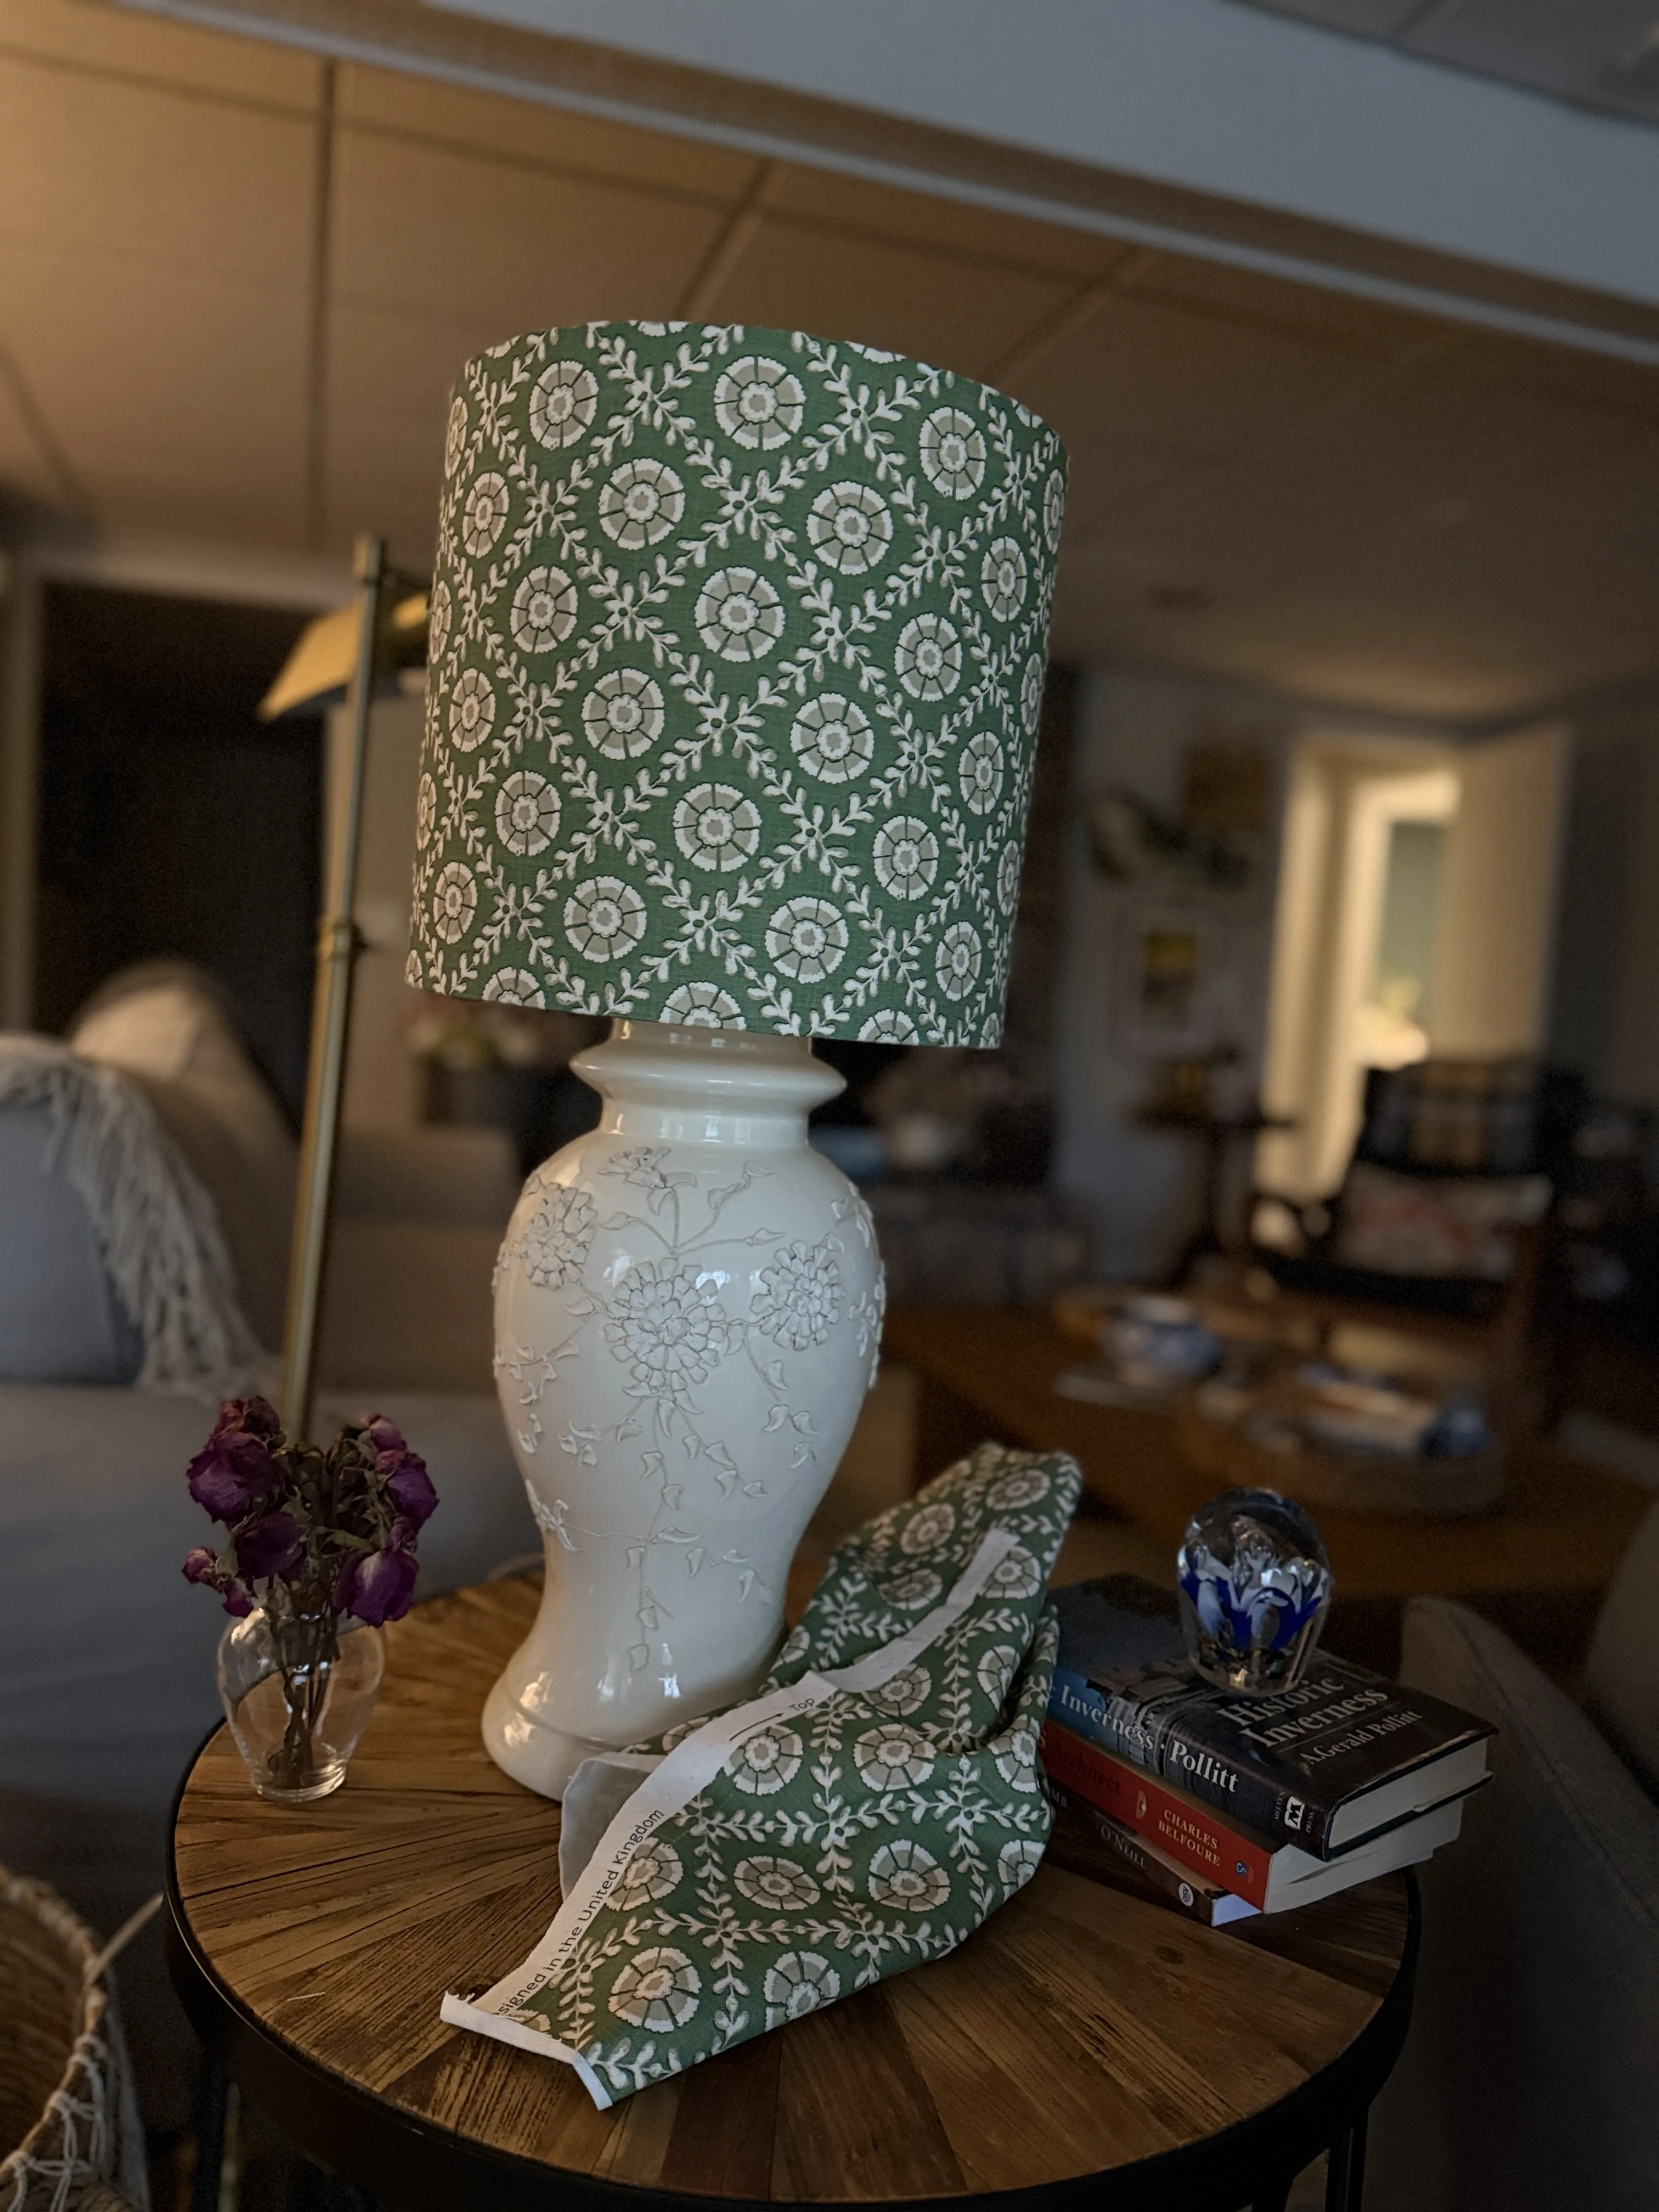
For a straightforward drum shade, gather a kit in your chosen size, a stable woven fabric, sharp fabric scissors or a rotary cutter, a ruler, a pencil, a clean work surface, and the finishing tape supplied with the kit. A fabric with a clear front and back, a modest weight, and a smooth hand is easier to align than a loose weave, bulky upholstery textile, or fabric with a deep pile.
Press the fabric first. Small creases become much more obvious when light shines through a finished shade. If your print has a direction, such as flowers, stripes, birds, or a repeated border, decide where you want it to land before any adhesive is exposed. Annie Sloan’s kit-based lampshade tutorial makes the same practical point: smooth fabric and a deliberate pattern position do more for a clean result than rushing toward the rings.
Use only panels, tape, backing, and fabric that are appropriate for lampshades. The panel gives the fabric structure and creates a more even glow. It is not the moment to experiment with unknown plastic, brittle paper, or fabric treatments you cannot identify. Choose a low-heat LED bulb after the shade is complete, follow the lamp’s markings, and do not alter its wiring for this project.
1. Make a paper test before cutting fabric
Lay the panel flat and note its finished height and the small amount needed for the closing overlap. Before peeling the backing, cut a piece of inexpensive paper to the same shape and wrap it around the rings. This dry run tells you whether the frame is level, whether your intended seam will sit at the back, and whether a patterned fabric needs to shift slightly before you commit.
A straight-sided shade should close without pulling. If the paper ripples or the ring seems to fight the panel, stop and check the size of the kit components rather than trying to stretch the material into place. The same patient pattern check appears in older workshop guidance from Michigan State University’s lampshade-making archive, which recommends rolling the frame carefully to establish an accurate pattern.
Mark the seam position on the paper test. On a table lamp, it usually belongs toward the back, where it is least noticeable from the doorway or chair. This small choice is what keeps a handmade shade from looking accidentally assembled.
2. Prepare and align the fabric
Place the fabric face down on a clean surface. Put the panel on top, leaving enough fabric at the side for the closing overlap and enough at the top and bottom for the kit’s edge finish. Check the direction of the print one more time. A narrow stripe that is almost straight will look more crooked once it is illuminated, so use the edge of the panel as your reference.
Cut generously at first. It is easy to trim a clean edge after the panel is attached, but impossible to add fabric after a too-close cut. If you are using a large print, choose the part of the repeat that you would most enjoy seeing at eye level. This is the quiet advantage of a handmade shade: the fabric is not merely cover material. It becomes part of the lamp’s composition.
Keep the work slow and flat. A clean panel is more useful than a clever flourish. Save fringe, braid, and contrast tape for a second project, when you know how the basic wrap behaves.
3. Apply the panel a little at a time
Peel back only a short section of the panel’s release paper. Set the panel down onto the wrong side of the fabric, then smooth from the centre outward with a clean, dry hand. Continue in short sections. The aim is to remove air as you go, not to pull the fabric tight. Pulling can skew a print or create tension that shows up as a crease later.
If a bubble appears, lift the panel gently while the area is still small and lay it down again. Do not keep smoothing harder in the hope that a wrinkle will disappear. It rarely does. The kit method described by Sew Helpful likewise treats the join and the small extra allowance around it as finish details, not afterthoughts.
Once the panel is attached, trim the fabric neatly, leaving only the allowance your edge tape requires. Keep the top and bottom edges even. A slightly uneven allowance can make the rings look crooked even when the frame itself is perfectly sound.
4. Roll the rings without forcing the frame
Apply the kit’s double-sided tape to the outside edges of both rings. Place the rings at the prepared panel edge and begin to roll them together along the fabric. Keep both rings moving at the same pace. A second pair of hands is genuinely useful here, not because the project is complicated, but because the top and bottom need to stay parallel.
Watch the fabric edge as you roll. It should meet the ring smoothly, with no bunching, no gap, and no twist in the frame. If the top ring gets ahead of the bottom, pause immediately and correct it while only a small section is attached. Finishing a shade with a subtle spiral is much more frustrating than taking two careful minutes now.
When you reach the seam, check that the overlap is tidy and lies at the back. The frame should feel light but firm. It should not wobble, and the fitting should remain clear of the panel and edge finish.
5. Finish the edges, then give the lamp a real test
Use the supplied finishing tape to cover the top and bottom edges. Work a small length at a time, pressing it over the rim without stretching it. At the seam, make a clean, modest overlap rather than building up a thick lump. Trim threads, inspect the inside, and make sure no loose tape, fabric, or backing can drift toward the bulb.
Set the finished shade on the lamp while it is still unplugged. Stand back, sit where the lamp is used, and make sure the shade sits level and covers the bulb comfortably. Then use a compatible LED bulb and turn it on while you stay nearby. Stop if you notice an unusual smell, browning, distortion, or a frame that shifts. The most valuable finish is a calm, even glow, not a project completed at any cost.
When the shade is working, look at it in daylight and after dark. Daylight tells you whether the fabric belongs with the room. Evening tells you whether the lamp is pleasant to live with. A pale linen may glow softly through the sides, while a darker or lined fabric can direct more light above and below the rim. Neither is universally better. The lamp’s job decides.
Let the lamp keep its point of view
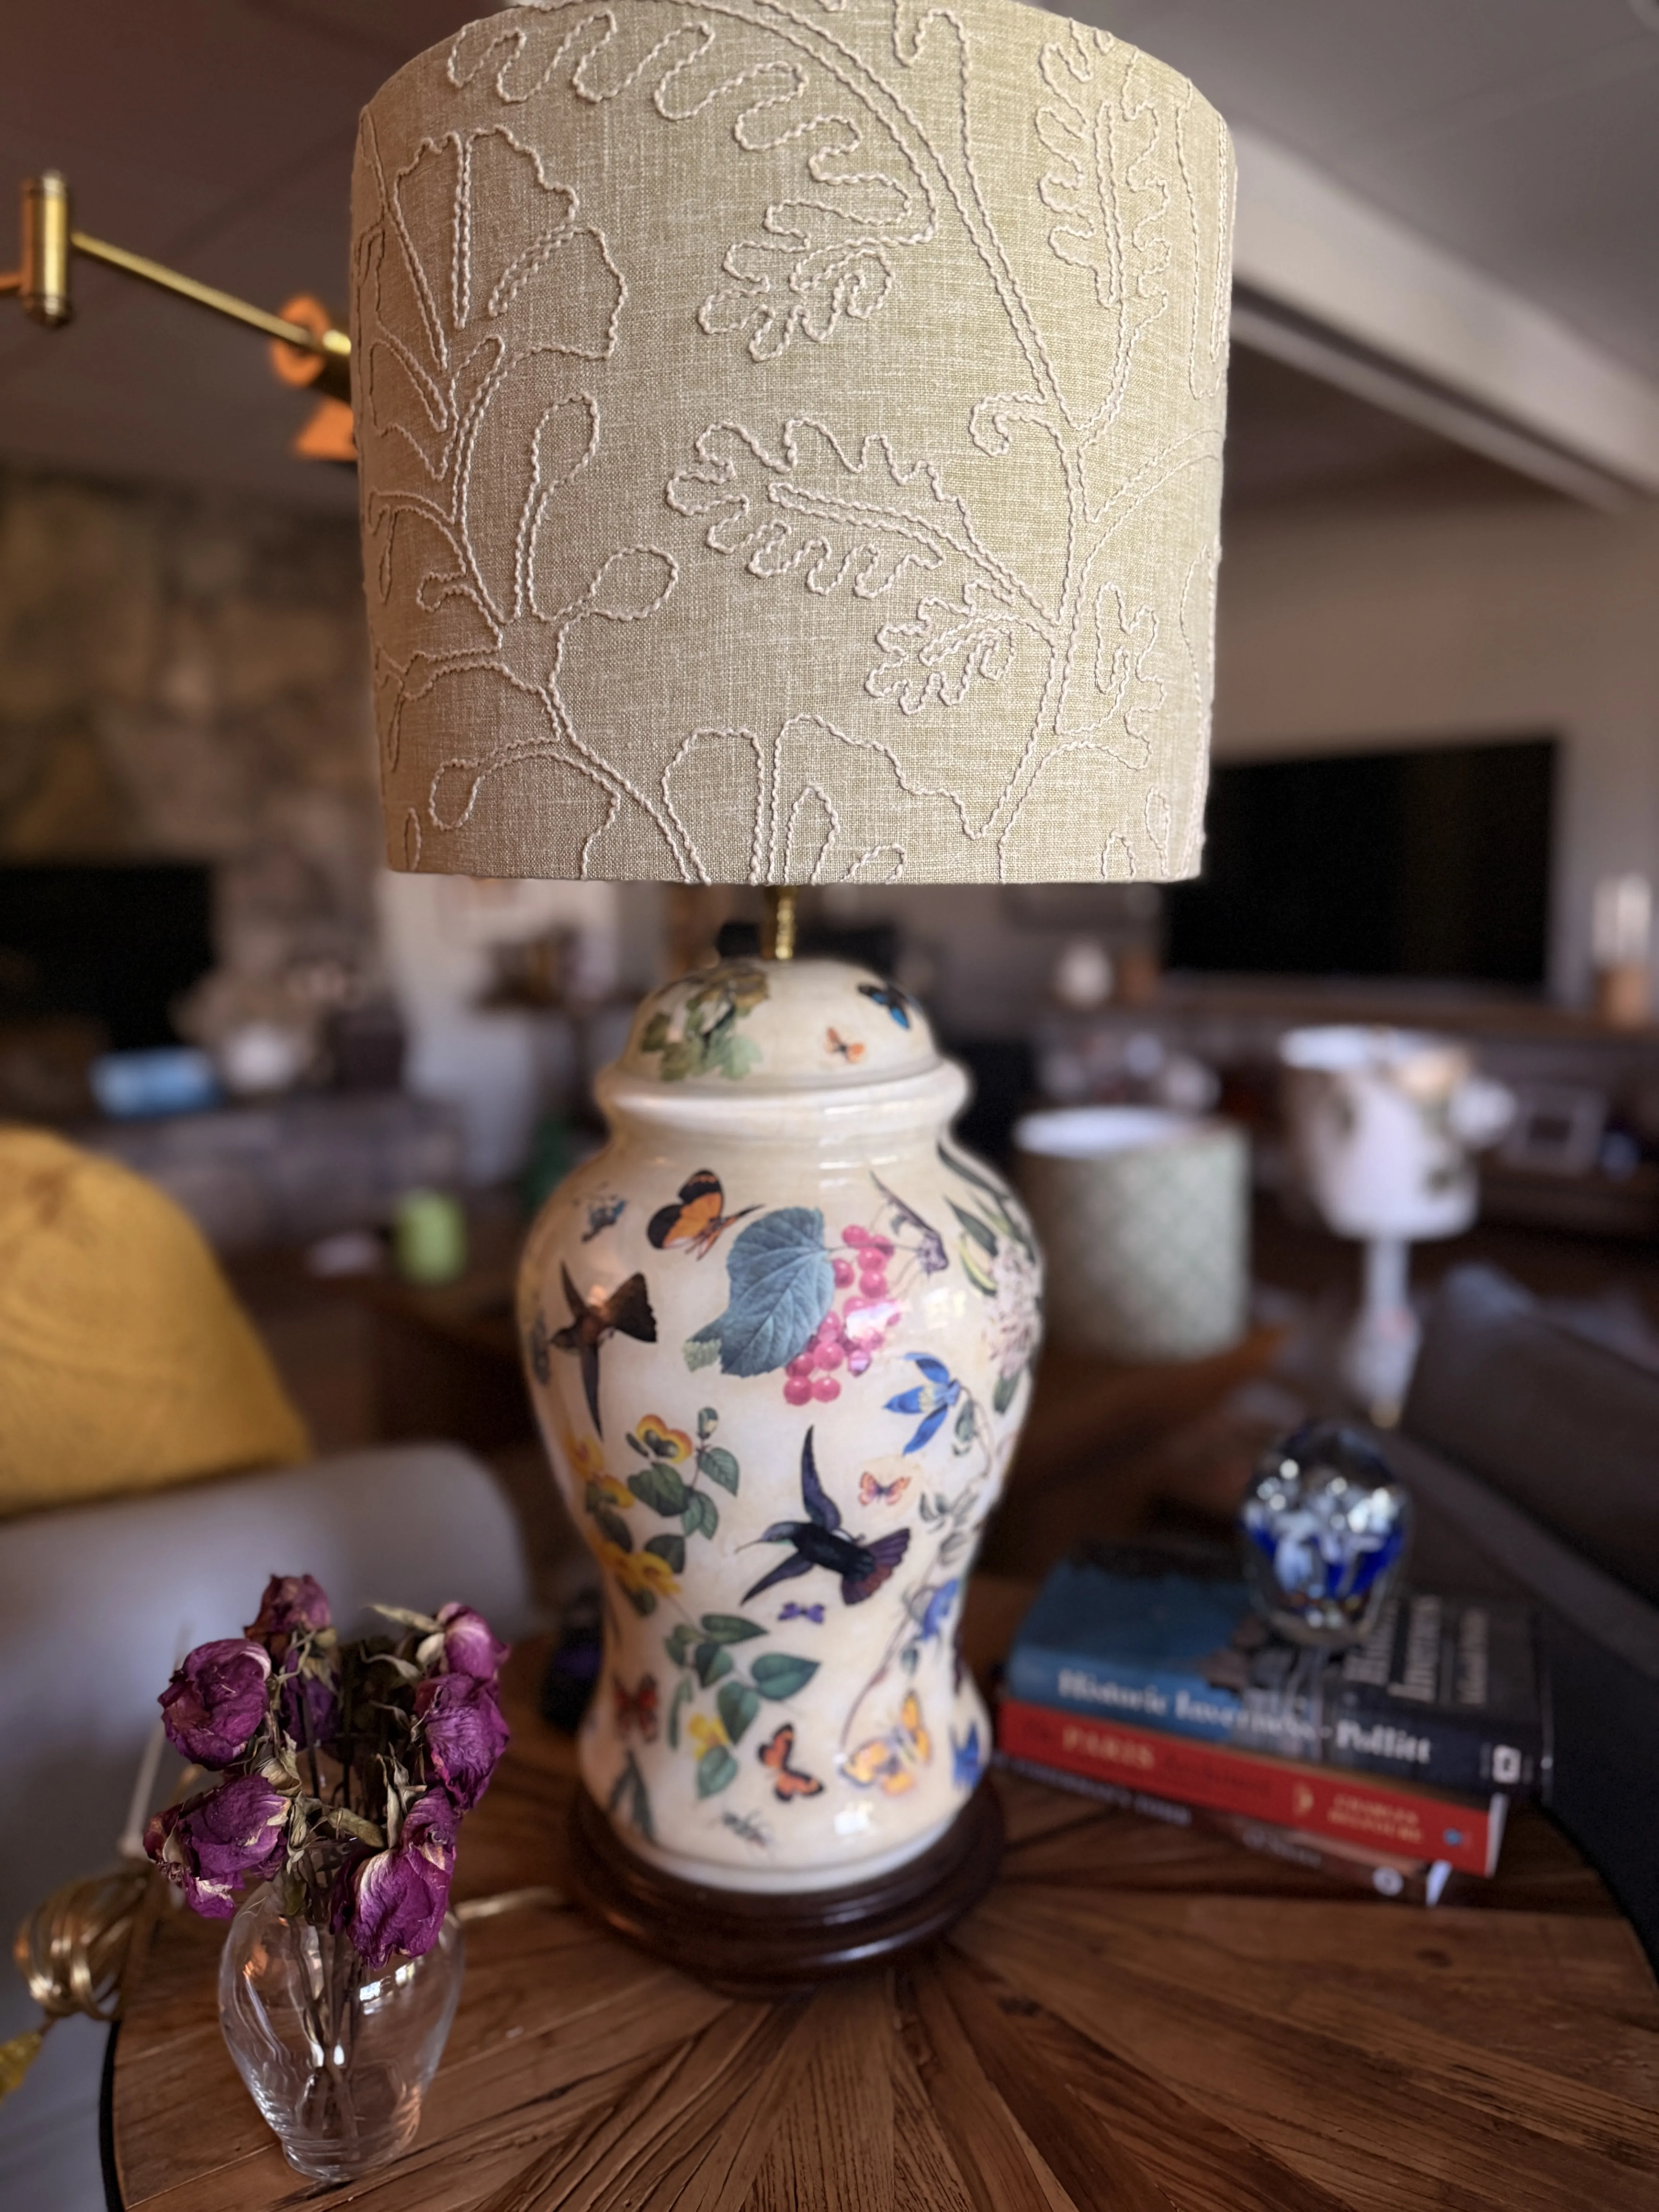
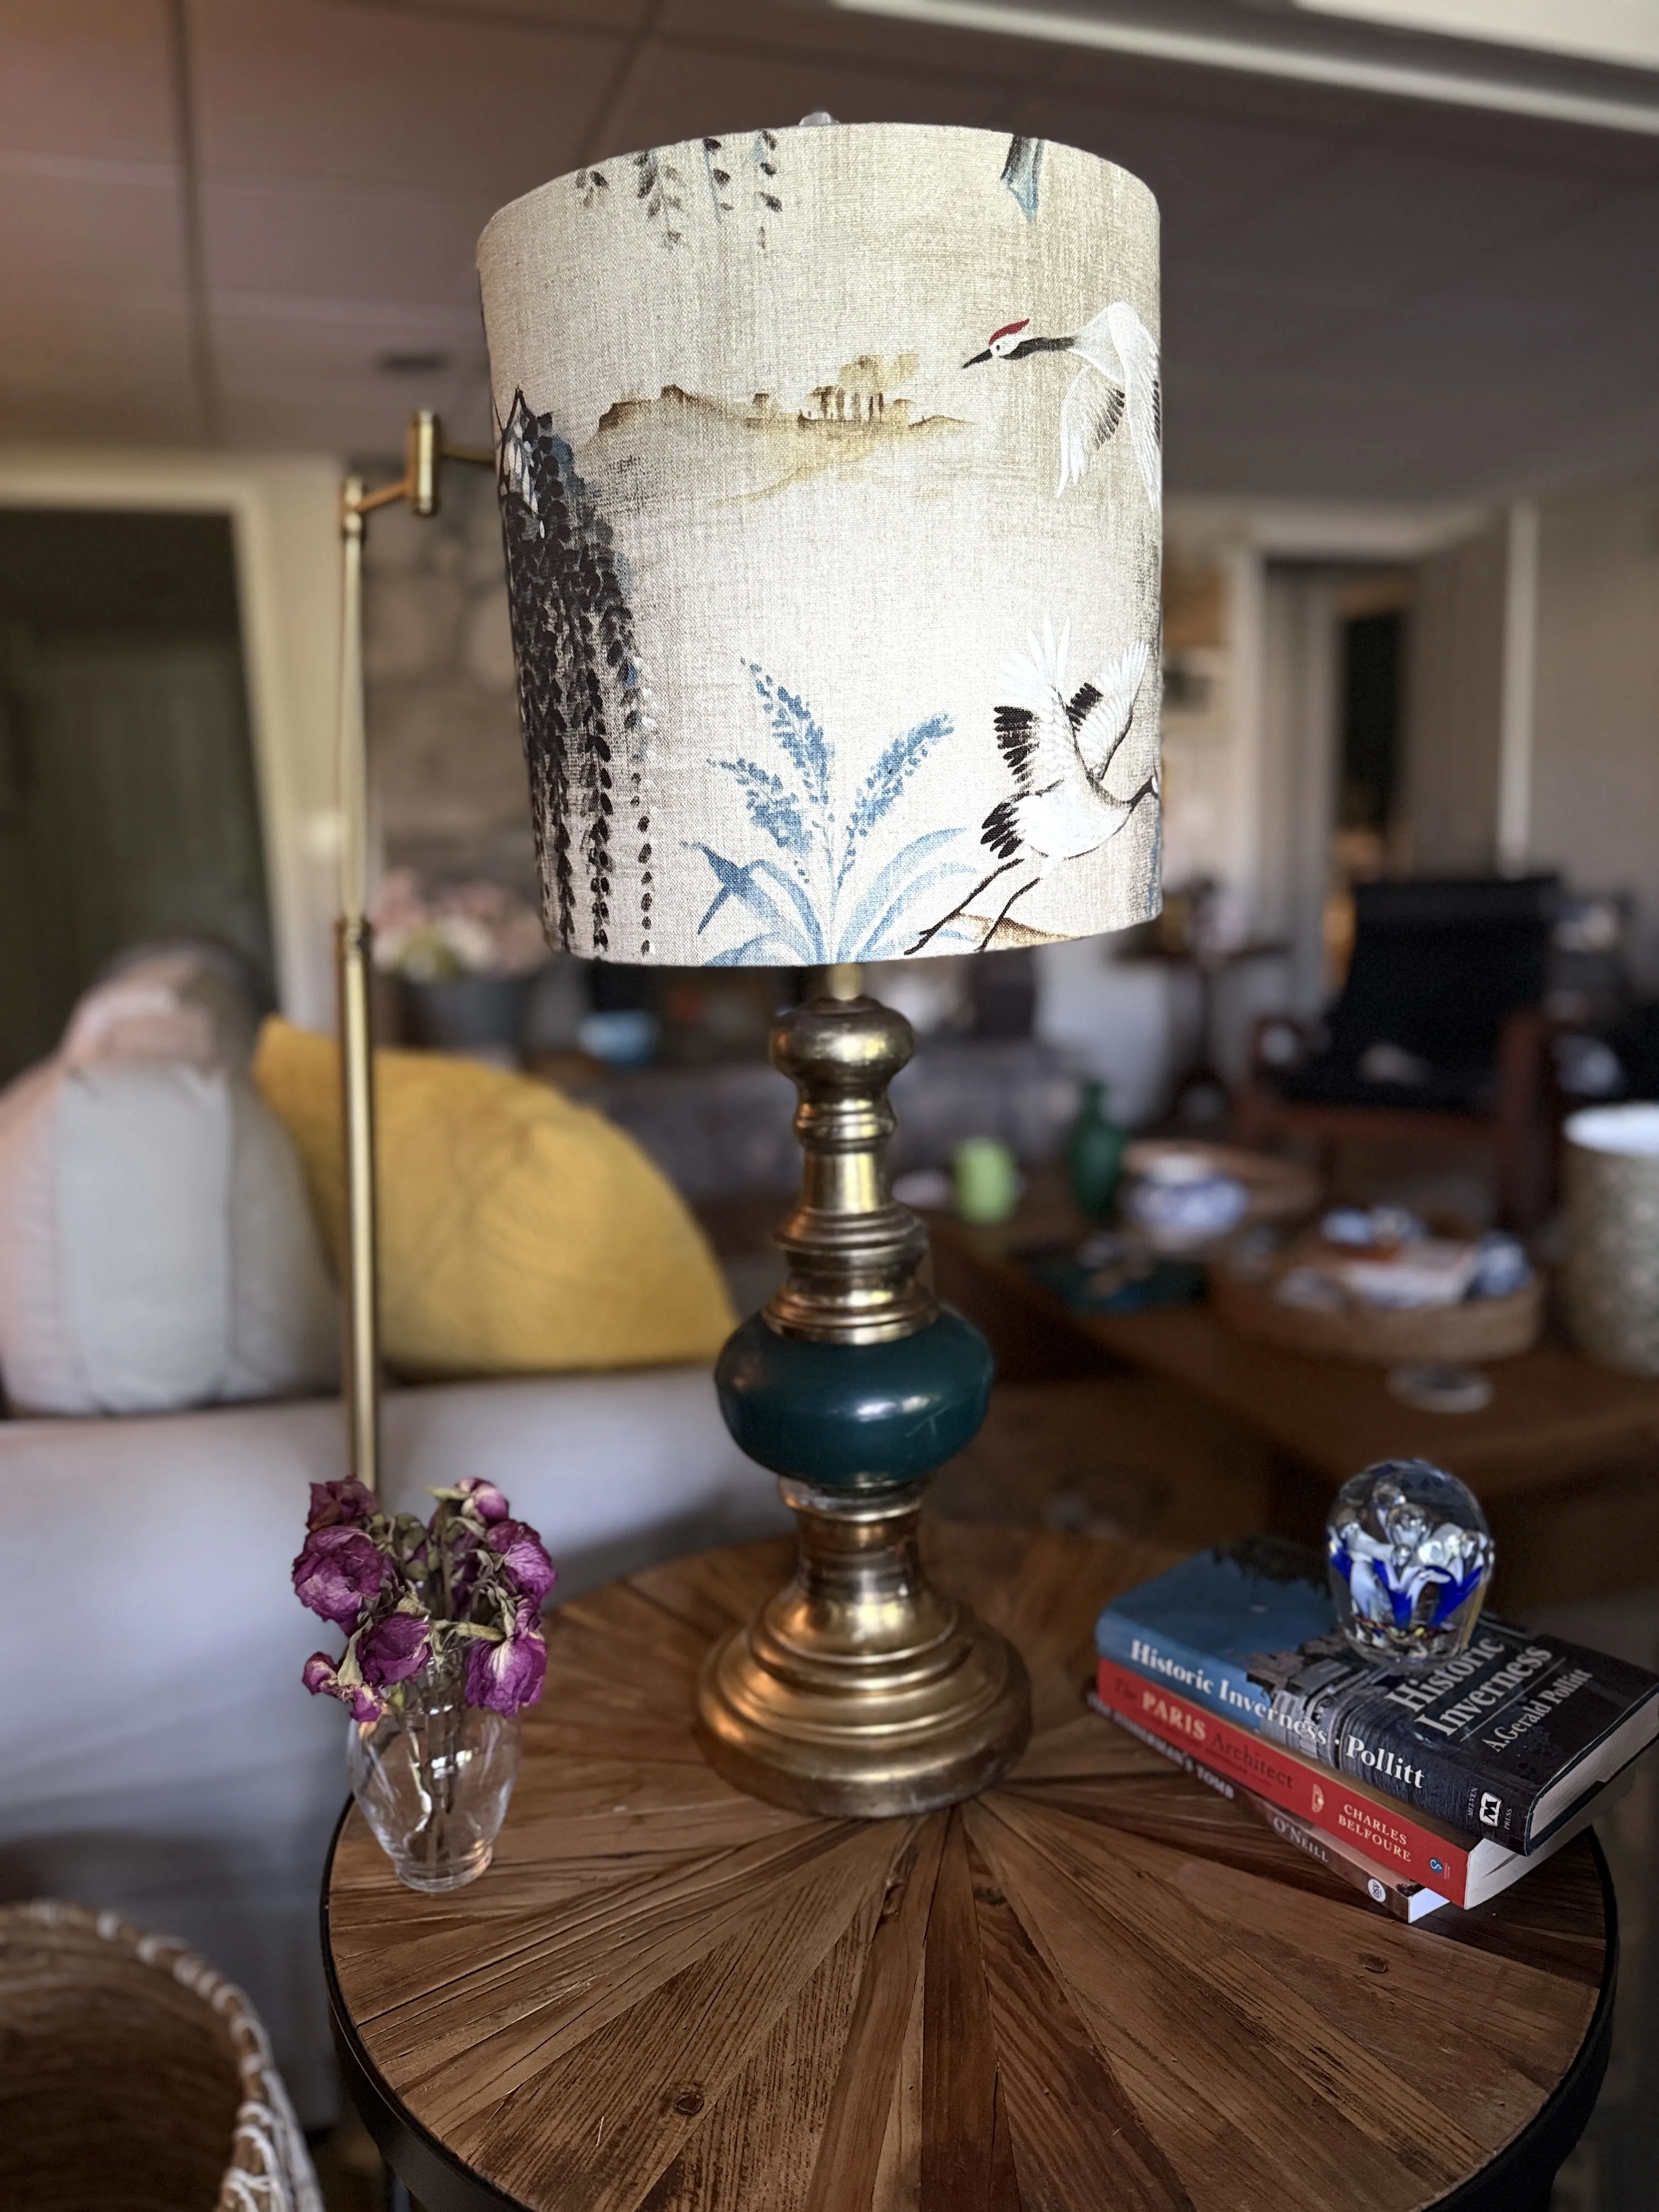
A handmade shade can be the final layer that lets an ordinary lamp belong to a much more personal room. That does not mean every shade needs a dramatic print. A quiet linen can make a detailed ceramic base feel calmer. A botanical or block-printed fabric can give a plain brass lamp a little more warmth. The useful question is not whether the shade is impressive on its own. It is whether the lamp, the table, and the room feel more settled together.
Keep the first project edited. One beautiful fabric, a straight frame, and a crisp edge are enough. If you add trim, choose a narrow tape that supports the fabric rather than competes with it, and test a short length before finishing the whole rim. A handmade detail should look intentional from across the room and still be pleasant to notice close up.
Then give the lamp a few evenings before deciding whether anything needs to change. The best proportion is easier to judge while reading in the nearby chair, switching off the overhead lights, or walking past the room at dusk. A shade that seemed modest on the worktable can become exactly the right softening layer once the lamp is doing its real job.
When to make one, and when to ask for help
A simple kit is a lovely way to use a meaningful fabric on a standard lamp. It is not the best answer for every piece. A damaged or bent vintage frame, an unusual fitter, a narrow console, a shade that needs an exact height, or a fabric that deserves careful pattern placement can turn a cheerful project into an expensive near miss.
That is where Re.’s custom lampshades become useful. Bring a photo of the lamp, a front and side measurement, a picture of the room, and the fabric if you have one. Re. can help you decide whether the lamp needs a fresh standard shade, a particular frame, or a made-to-fit piece that gives the old base its proper proportions.
If you already have a sound shade and simply want to refresh its outer cover, the guide to recovering a lampshade will help you judge whether that is the more sensible route. A good project begins by choosing the right level of intervention.
A simple finishing checklist
- The frame and fitting are sound, level, and right for the lamp.
- The fabric sits smooth, with the pattern facing the intended direction.
- The seam is neat and placed toward the back.
- The edge tape is even, with no loose material near the bulb.
- The lamp uses a compatible LED bulb and is pleasant to look at after dark.
- The finished shade gives the lamp more character without crowding the room.
A homemade lampshade does not need to look factory-perfect to look right. The goal is a clean fit, a thoughtful fabric, and a lamp that feels more like yours when the room gets quiet.
Frequently asked questions
What is the easiest lampshade to make?
A simple drum shade made with a purpose-made frame-and-panel kit is the most approachable first project. Its straight sides use a rectangular panel, so there is less pattern work than with a tapered, oval, or pleated shade.
Can I make a lampshade from any fabric?
Choose a smooth, stable fabric that lies flat and use a backing or panel made specifically for lampshades. Very thick, loose, heavily textured, or heat-sensitive fabrics are harder to wrap smoothly and may not be appropriate near a light source.
Should I use an old lampshade frame?
Only when the frame is sound, level, and the fitting is secure. A new kit is usually the easier and more predictable route for a first shade. A bent frame, loose fitting, damaged socket, or uncertain wiring is a reason to pause and seek help.
How do I know whether a handmade shade will fit my lamp?
Before making anything, check the fitter, measure the lamp base and available table space, and decide the finished diameter and height. The shade must sit straight, hide the bulb from normal eye level, and leave comfortable clearance around the lamp.
Related posts
Lampshades
How to Recover a Lampshade Without Losing Its Shape
Learn when a hardback lampshade can be safely recovered, how to test the fabric, and how to finish a smooth, durable cover.

Lampshades
How to Choose a Lampshade That Fits Your Lamp
An easy way to choose lampshade size, shape, fitter, fabric, and light, so your lamp feels right in the room.